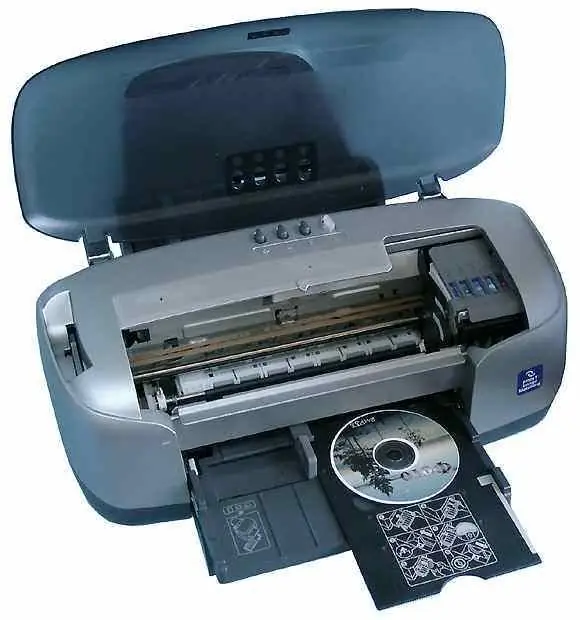
One of the interesting and attractive features of many printers is the ability to print text and images onto the surface of discs. The most popular printers that support printing on discs are models from the manufacturer Epson (for example, Stylus Photo T50, R220 or R320) and Canon (PIXMA iP4200, PIXMA iP5000). The kit for such printers comes with a CD with a special program that helps to develop the design of the discs and print the image.

It is necessary
- - Printer;
- - a program for printing on disks;
- - Printable disk.
Instructions
Step 1
Buy a special disc for printing on a printer marked "Printable" (they may have the inscription "Printable with ink jet printers" or "Printable on the label surface"), such discs are not more expensive than ordinary discs. Some models of printers allow printing on mini-discs, for this purchase a "Printable" mini-disc.
Step 2
Write the required data to disk before printing to it. Otherwise, dust, fingerprints and damage may occur on the surface of the disc after printing, causing write errors.
Step 3
Find the disc tray in the printer by opening the printer cover. If the tray is not inserted, insert it after making sure the printer is on. If the power is turned off when the tray is inserted into the printer, the print position adjustment will not be performed.
Step 4
Place a disc in the tray with the side to be printed facing up. Only one disc can be placed in the tray! If you are printing on a mini-disc, find the special adapter that should come with your printer in the box. Insert it into the tray, and then insert the mini-disc into the adapter. Before inserting a disc, make sure there are no foreign objects in the tray that could damage the recording side of the disc. Insert the disc tray into the printer into the slots.
Step 5
Install the software that came with the printer (such as Epson Print CD or CD Label Print) on your computer. If it is installed, open it by clicking the icon on your desktop, or find it in the Start menu.
Step 6
Using an open program, create the desired image or lettering that you want to print. The program allows you to insert the inscriptions and pictures you have, as well as draw your own original images.
Step 7
Click the Print button on the File menu. A dialog box will open in which select the desired printer on the first line. The third print parameter is "Media type". Select from the provided CD / DVD list. Check the checkbox Print Confirmation Pattern - "None" (not to print the pattern). Click "Print".


