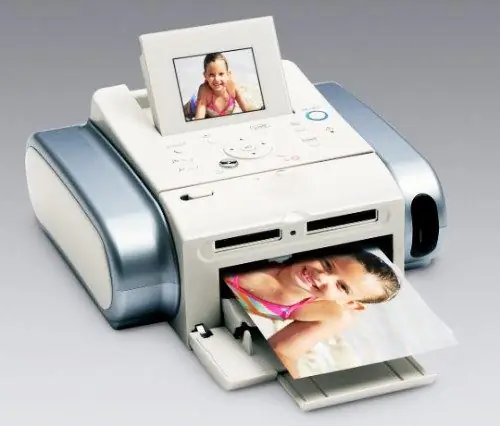
If you notice that the printer is producing too faint or poorly printed images, it is time to clean the print head nozzles. By following simple steps, you can restore correct ink supply.

Instructions
Step 1
Choose which method of cleaning the print head nozzles works best for you: the Head Cleaning utility that comes with the printer, or the computer control panel. It is quite easy to use a utility designed specifically for this purpose. It is enough to follow the instructions that will appear on your monitor. As for the control panel, here are the steps to follow.
Step 2
To get started, make sure that the "Power" indicator light is on, and the "Out of ink" button, on the contrary, is off. Press and hold the Ink button for 3 seconds. The printer should begin the process of cleaning the print head nozzles. In this case, the button that you pressed, as well as the "Network" button will start blinking.
Step 3
After the Power light stops beeping, try printing a document to make sure the nozzles are clear and ink is flowing out smoothly.
Step 4
If the print quality is still not good after printing 5 pages, unplug the printer and leave it that way. After a day, try to print the document again; if necessary, you can repeat the nozzle cleaning process.
Step 5
If, after cleaning the nozzles two times, the printer still produces poorly printed pages, the cause is not clogged nozzles. It appears that your cartridge is damaged or has reached the end of its life and needs to be replaced with a new one.
Step 6
If the print quality remains the same even after you have supplied a new ink cartridge, you should contact a service center to troubleshoot an internal printer problem.
Step 7
Remember, in order to prevent the nozzles of the print head of an idle printer from clogging, for preventive purposes, it should print 4-5 pages once a month.


