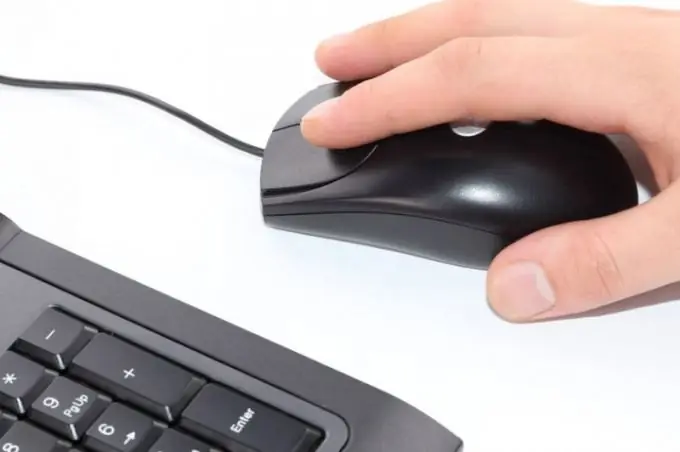
In addition to the usual mouse connected through one of the external connectors, the laptop has a built-in device that performs the same cursor control functions. It is called a "touchpad", and when people talk about mice in laptop computers, they often mean it. Disconnecting both devices in laptops can be done in several ways.

Instructions
Step 1
If you want to disconnect a USB mouse from your laptop, simply pull the plug out of the socket. No additional software or hardware changes are required.
Step 2
The easiest way to disable the built-in cursor control device, the touchpad, is to use the hotkeys. This is a combination of simultaneously pressed buttons, one of which - the Fn key - is located at the very beginning of the bottom row. The second should be one of the function keys. Most likely, this will be the F7 or F9 key on your computer, but laptop manufacturers can use any of the 12 function buttons on the top row of the keyboard for this combination.
Step 3
Disabling the touchpad through the Windows Control Panel requires a lot of manipulations. To open this panel, press the Win key and select the appropriate item in the right column of the OS main menu. In the list of panel sections, click "Hardware and Sound", and on the next downloaded page, click on the "Device Manager" link in the "Devices and Printers" section.
Step 4
In the device manager window, click on the triangle next to the inscription "Mice and other pointing devices", and then right-click on the line "HID-compliant mouse". In the pop-up context menu there is an item "Disable" - select it, and the task will be solved.
Step 5
You can also disable the touchpad in the BIOS settings panel, which will require a computer restart. If there is a need to use this option, select the restart command from the OS main menu. When a prompt appears in the lower left corner of the screen to press a key (or key combination) to enter the BIOS setup panel, perform the suggested action. In the panel, go to the Advanced section and set the Disabled value in the Internal Pointing Device line. The name of the desired item in the basic I / O system of different manufacturers may not coincide with the one indicated here, the exact wording can be found in the description supplied with the laptop. After changing the setting, press the Esc key, and when the screen asks whether to save the changes made, confirm your choice.


