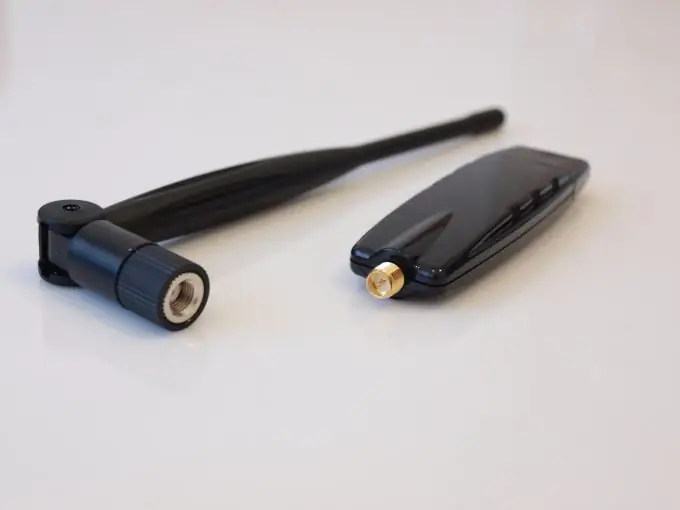
Wi-Fi adapters are devices that allow desktop computers to be connected to wireless access points. But they can also be used for other purposes, for example, to create a local area network between a PC and a laptop.

It is necessary
Wi-Fi adapter
Instructions
Step 1
First, select a Wi-Fi adapter for your desktop computer. These devices are of two main types: internal and external. The first type of adapters is connected to the PCI slot located on the computer motherboard, and the second to the USB connector. Purchase a suitable Wi-Fi adapter.
Step 2
Connect the purchased device to the required connector. If you are connecting a PCI adapter, be sure to turn off your computer first. The adapter must come with a disc containing drivers and software to control the device. Install this program.
Step 3
Run the installed application. Adjust the parameters of the Wi-Fi adapter, if required. They are usually automatically selected when connected to a wireless network. To connect a laptop to this adapter, set up a local network.
Step 4
Open the Network and Sharing Center. Select the "Manage Wireless Networks" menu. In the new window, click the "Add" button to start the process of creating a new network. Select the type of network "computer-to-computer".
Step 5
In the menu that opens, specify the name of the future network, select the type of security for it, enter the password. If you want to use this network in the future, check the box next to the "Save network settings" item. Click "Next". After the message about the successful creation of the network appears, click the "Finish" button.
Step 6
Now turn on your laptop. Open the list of available wireless networks (network icon in the system tray). Select the network you recently created on your desktop computer. Click the "Connect" button.
Step 7
Enter the set password to gain access to the network. To view the IP address of each device, right-click on the connection icon and select "Status". Click the "Details" button in the menu that appears.


