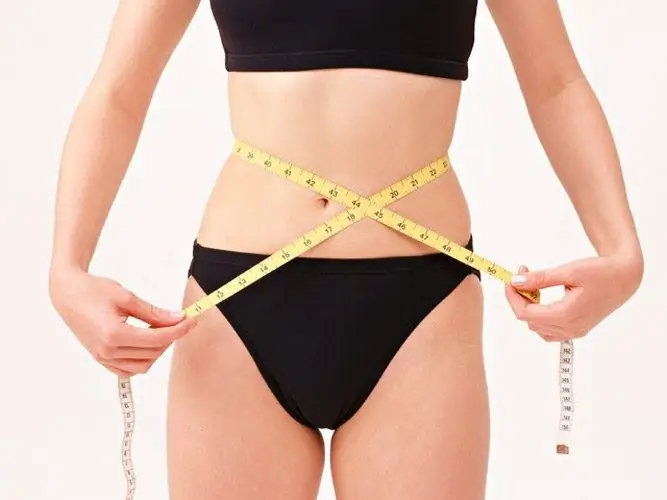
The Liquify filter is one of the most convenient Photoshop tools for free deformation of an image. With this filter, you can not only get details for creating a surreal collage, but also make the figure in the picture more slender.

It is necessary
- - Photoshop program;
- - the photo.
Instructions
Step 1
Use the Open option of the File menu to open the photo in a graphics editor. Unlock a photo taken on a monochrome background without texture, noise and shaded areas in the vicinity of the shape you are going to correct using the Layer from Background option of the New group of the Layer menu.
Step 2
A picture with a more complex background will require different preparation. Use the Lasso Tool to select the shape with a little background. Use the Layer via Copy option in the New group to copy the selection to a new layer. When you deform an image using the Liquify filter tools, areas of the background that are close to the ones you are working with may be altered. After finishing the work, you will restore them from the original picture.
Step 3
Using the Liquify option of the Filter menu, open the filter window and check the Show Mesh checkbox. The grid that appears will allow you to track the progress of the transformation.
Step 4
Turn on the Pucker Tool and use it to process the details of the shape that you want to reduce. To do this, adjust the size of the tool's brush so that it matches the width of the modified part of the body. Pixels affected by the brush will move to its center, marked with a cross.
Step 5
The value of the Brush Density parameter determines the degree of displacement of image details located at different distances from the center of the brush. At the maximum value of this parameter, the tool will have the same effect on all pixels that fall under the brush. Setting the Brush Density to a small value will reduce the change in the image around the edges of the brush.
Step 6
The Brush Pressure parameter controls the speed at which the picture changes. Give this parameter a small value to be able to monitor the transformation process. Place the center of the brush on the selected part of the shape, hold down the left mouse button and wait for the desired degree of change in the image.
Step 7
To narrow the shape, you may need the Forward Warp Tool, which offsets the pixels affected by the brush in the direction of its movement. The settings for this tool are similar to those for the Pucker Tool. Resize the Forward Warp Tool to the length of the segment you want to move, set the center of the brush to the edge of the shape and move the image.
Step 8
Turn off the visibility of the grid. If in one of the areas of the photo the correction turned out to be excessive, restore the original view of this fragment using the Reconstruct Tool.
Step 9
To restore the background surrounding the shape, create a mask on the layer to which the filter was applied by clicking on the Add layer mask button. Remove the damaged background by painting it with black on the mask using the Brush Tool.
Step 10
Duplicate the layer with the original image using the Duplicate Layer option of the Layer menu and mask on it the fragments of the shape that appeared from under the layer with the "thinner" image. This can be done with the Clone Stamp Tool.
Step 11
Use the Save As option on the File menu to save the edited photo to a.jpg"


