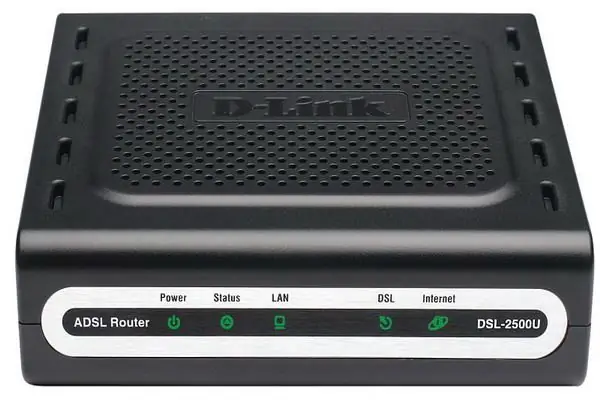
Many users are concerned about the question in which mode - a router or a bridge - it is better to set up an Internet connection. Each of these options has its own advantages and disadvantages. If there are several computers in the house, and everyone needs an Internet connection, it is better to use the router mode, but if there is only one computer, it is better to use the bridge mode.

It is necessary
Computer, modem
Instructions
Step 1
Basically, bridge mode on modems is set by default. But in addition, you need to enter the settings received from the provider. Go to the WEB-interface of the modem. To do this, type route print on the command line. The modem address appears. Write it down. Now in the address bar of the Internet browser after the line https:// enter the previously received address of the modem.
Step 2
In the web interface of the modem, enter the username and password (provided by the operator, the default value can be admin in both lines). Then select the Quick Setup line in the modem menu. Uncheck the box next to the Auto-Connect line.
Step 3
After that, pay attention to the VPI and VCI values. Enter the values that you received from your operator there. Don't touch anything else. Then click Next and in the Connection line that appears, select the Bridging value. Then go to the WAN Setup section and click the Save / Reboot command. Reboot your modem.
Step 4
Now you need to create a network connection. Go to the "Network Connections" folder and select "Local Area Connection". Click "Connect to the Internet", then - "Install in manual mode" and "High-speed connection" with a username and password. Enter your provider's name, username and password (received from the provider). Check the box next to the line “Create a shortcut on the desktop.
Step 5
A new window will appear in which select "Properties". In the next window, select the "Network" tab. Select the TCP / IP line from the list and click "Properties" at the bottom of the window. Select the line “Use the following DNS server addresses. Next, enter the DNS addresses received from the operator. Save the settings in all open windows. Just click OK in each window. Now select the shortcut of the Internet connection profile on the desktop and click "Connect".


