Creating your own website requires free time, patience and endurance. After buying / registering a domain (a unique name for your site) and linking it to a hosting (site), the most interesting thing begins - filling the site with content using a special constructor program. Joomla is considered one of the most popular programs. Latest version: 3.4.1. It is easy and convenient to work with it. It is enough to follow the step-by-step instructions.

Installation. Go to the site where you purchased hosting services by entering your username and password. Then to the hosting control panel. Find the section on installing constructors: on the Reg.ru website, for example, this section is called "Softaculous", and on Nic.ru - "CMS". Click on "Joomla" and "Install". The program will automatically install. You can find out about self-installation of the constructor in the "Help" or "Support" section.
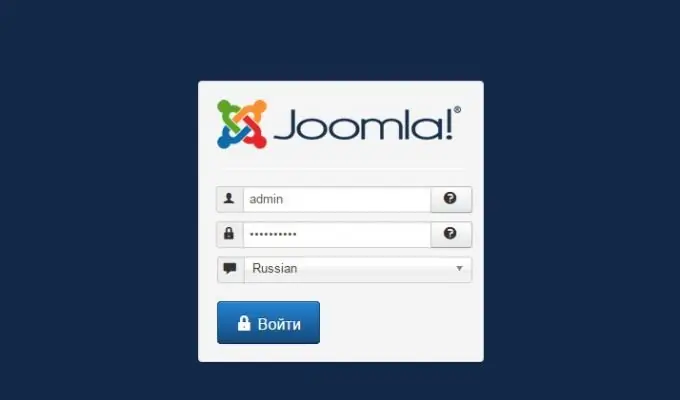
Entrance. After installation, an email will be sent to your email address about the successful installation with a login and password for entering, and a link will appear on the hosting: "Joomla Site Control Panel". Go to the panel and enter your username / password in the login window. Do not forget to specify Russian as the interface language.
Choosing a template for the site. At the top of the panel, select the "Extensions" section, then "Template Manager". There are 2 templates to choose from: "Beez3-Default" and "Protostar-Default". By clicking on the eye icon next to the templates, you can see what they are made of. Select the template you like and click on the star button to the right of it. Remember or make a screen of the location of positions (Position-0, etc.) - this will be needed to select a place for information blocks.
Creating a category. In order for the site to attract attention, think in advance of what information blocks (categories) it will consist of. For example, if this is a travel site, then the categories should be appropriate: Thailand, Turkey, etc. Go to the "Materials - Category Manager - Create Category" section. Write down the name and click "Save and Close".

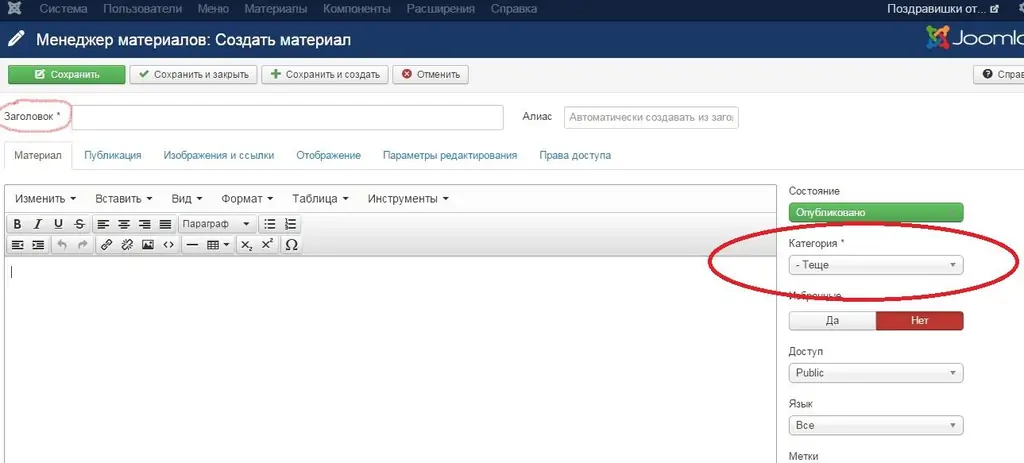
Creation of material for the category. Go to the "Materials - Materials Manager - Create Material" section. The name of the material must correspond to the specified category. Write the text of the article on the topic, select the appropriate category on the right and click "save and close".

Menu creation and position selection. In order for the category and thematic material to appear on the site, you must create an appropriate menu item. In the top line of the Panel, find the "Menu" section and the "Menu Manager" subsection. Click Create Menu. The options window will appear. The title of the menu should unite by name all the categories that will be in it. For example, (if we again take a travel site as a basis) "Last Minute Tours" or "Accommodation".
Go back to the "Menu Manager" section. To the right of the created heading there will be an inscription that no module has been set for this heading. Click on the "Module" button and in the parameters select the position for this header (based on the type of template).
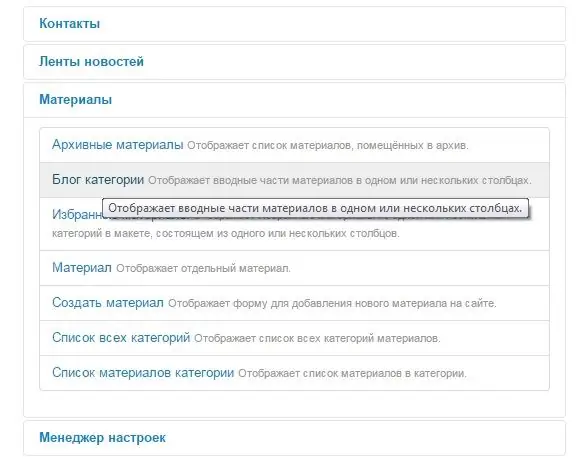
Save and select "Menu - Title Name - Create Menu Item". The name of the menu item must match the name of the created category. In the parameters, click "Type of menu item" and in the window that appears, select "Materials - Category block".

Evaluation of results. At the bottom of the constructor control panel there is a button "View site". Press it periodically and check if everything turns out as you intended. Your site will open in a new window. If you find an error, go back to the control panel tab and edit any inconsistencies.


