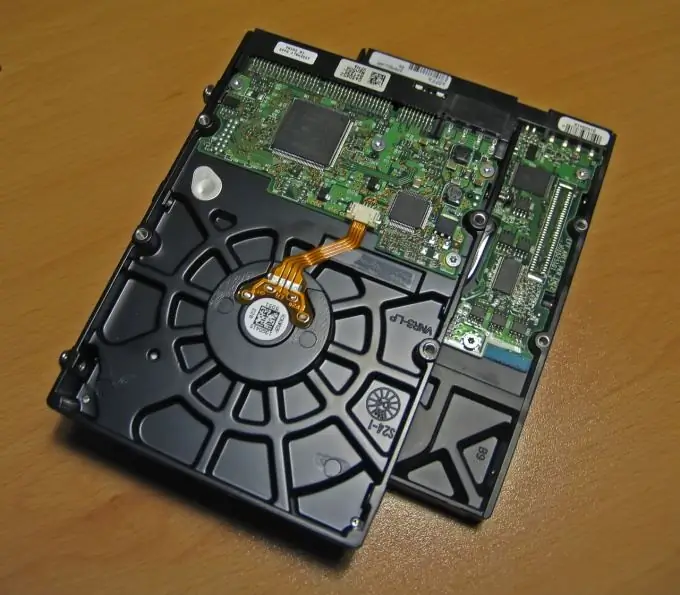
Sooner or later, every computer user has a problem: one installed hard drive will no longer fit all the information that needs to be saved. And, in the end, a second, and perhaps a third, disks appear in the system unit of the computer. One of the main difficulties that arise when connecting 2 hard drives at the same time is the motherboard correctly detecting each of them, as well as the priority or order of loading.

Instructions
Step 1
In essence, the cases when you need to connect 2 hard drives boil down to two possibilities:
• one disk already exists and is working, you need to install an additional one;
• there are no storage devices in the computer, you need to connect 2 hard drives.
Since the first case logically follows from the second, consider the situation when you need to connect 2 hard drives to the system unit. Power off the computer. Place it on a flat surface and remove the case cover to access the motherboard.
Step 2
Select which of the hard drives will be the primary, that is, the active one from which the operating system will be loaded. Determine the order by setting the small jumpers to the appropriate positions in accordance with the diagrams shown directly on each hard disk.
Step 3
Some differences in drive connections may be caused by the hard drive interface. There can be two interfaces: ATA or SATA. In this case, you can connect 2 ATA disks per cable, but SATA disks are connected each with a separate cable going to the motherboard. Also, hard drives with SATA interface, due to the peculiarities of the connection interface, do not require any additional changes in the settings of the jumpers when connecting to the controller, as when setting the master / slave position for IDE drives of the ATA interface.
Step 4
When you figured out the cables and the interface, and also prioritized the boot using jumpers, install the hard drives one by one into the slots specially designed for this in the system unit. Connect the cables from the motherboard to the 2 hard drives, as well as the voltage wires from the power supply.
Step 5
Turn on your computer and go to BIOS settings. If hard drives were not detected automatically, perform their manual identification using the appropriate command. Then save the changes and exit the BIOS.


