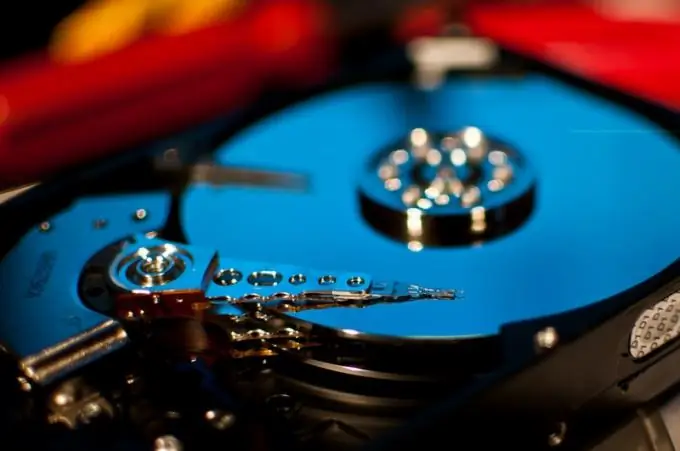
The growth of digital technology is setting its pace in the world of computers, and few people are surprised that they have to increase the volume of hard drives and their performance. However, old models can serve you along with "newbies". It remains to place them correctly in the computer and bypass the "pitfalls" that can be encountered with such a combination.

Necessary
- - winchester;
- - data cable with a suitable connector;
- - free space in the computer system unit.
Instructions
Step 1
Place the new hard drive in the computer case. To do this, turn off the computer, disconnect the power supply (turn off the button or unplug the power cord), remove both side covers of the system unit, install and fasten the new hard drive on both sides with screws into the free slots of the case. Connect the data cable (ribbon cable) and the power cable. Modern hard drives are usually connected via a SATA (Serial ATA) connector. Make sure your computer motherboard has a similar connector before purchasing. Otherwise, it is necessary to use a hard drive with the old connection technology - IDE. Set the jumpers to the appropriate position (if it is the master disk, the jumper is in the “Master” position, if the slave is “Slave”). An instruction sticker with the position of the jumpers is usually located on the hard drive case. Install the side covers of the system unit and connect the power.
Step 2
Turn on the computer and enter the SETUP BIOS utility (this usually requires holding down the Del key at the beginning of the boot). In the SETUP program, you need to make sure that the new and old hard drives are correctly recognized by the system and are in the correct order. This can be seen in the Standard CMOS Features menu. Having opened it, look at the list of detected devices, for each of which properties (size, number of cylinders, etc.) will be shown. If you plan to boot from a new disk, then select the appropriate item opposite your disk in the Advanced BIOS Features menu, specify it first.
Step 3
Reboot your PC. Monitor the loading of the operating system and make sure there are no failures and abnormal situations (freezes, unexpected reboots). If everything went well, then the system will detect a new hard drive with the first start and allow you to work with it. If the drive is not found, then it is worth checking that the cables are connected correctly and the SETUP is set.
Step 4
The found hard drive is ready to use: you can format it, create new partitions, assign letters to logical drives. For simple use of these features, open the Explorer program (key combination WIN + E) and select the required context menu command by right-clicking on the new disk. Remember, formatting disks will destroy all information on them! Take measures to archive or back up information to other hard drives or Flash devices.


