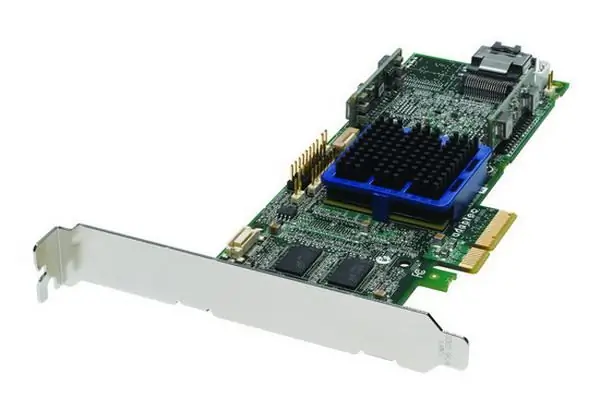
In order to install a new controller board, you do not need to have any special skills. In this process, there is a certain order of actions that must be followed so that you can install the controller. All it takes to install it is a little time and patience. You need to act carefully and slowly in order to avoid mistakes, which will take a lot of time to correct.

It is necessary
screwdriver
Instructions
Step 1
Shut down the computer by unplugging the power cables from the electrical outlet. Unscrew the mounting screws, remove the cover from the PC case, and then set them aside so that they do not interfere with you. Locate the storage controller on the system board and disconnect the cable from it. Then remove the old controller board (if installed).
Step 2
If you are replacing an old controller board, remove the free slot cover and install a new controller there. Use a screw to secure the board. If the computer uses a controller that is integrated into the motherboard, you do not need to remove anything, of course. In this case, disable it either using the jumper on the motherboard or using the BIOS setup utility.
Step 3
In almost all cases, the controller must be installed in the uppermost PCi slot to stabilize the operation of the disk subsystem. If the computer has an LED that shows the activity of the hard disk, it can be connected directly to the connector on the board of the new controller. If several hard drives are installed on the PC, then the LED will display the operation of only the hard drive to which it is connected.
Step 4
Recognize the connectors on the new controller. The primary channel is designated Primary IDE and the secondary is Secondary IDE. After installing the controller, turn on the computer and check if it is working properly. Do not rush to immediately close the system unit with a lid, because if something does not work well, you will have to recheck everything and reopen its lid. Only after you have made sure that everything was done correctly and that everything is working, you can close the computer cover by tightening the fixing screws.


