Adobe Photoshop is designed to work with images. Due to its widest possibilities it enjoys well-deserved popularity. Experienced Photoshop users know all its secrets, but for a beginner, even the simplest techniques can be difficult.

Instructions
Step 1
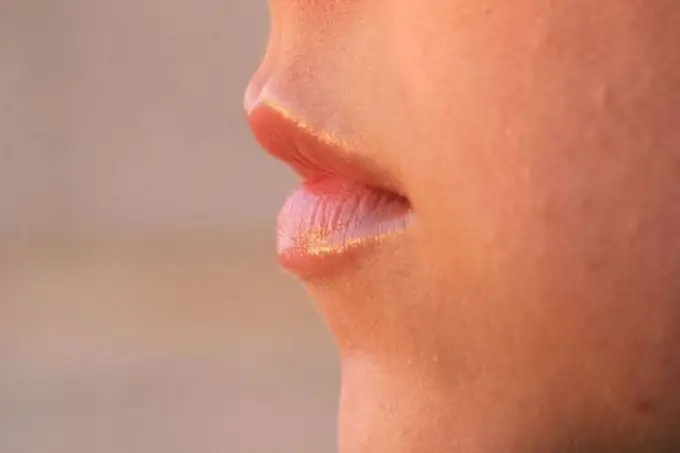
One of the tasks often solved with the help of "Photoshop" is the retouching of photographs of people. Particular attention is paid to working with the face and figure - thanks to "Photoshop" you can remove acne, warts, moles, wrinkles, remove a double chin, etc. from a person's face in a photograph.
Step 2
Let's say you need to remove a blemish from a photo - this is one of the most common retouching options. Open the photo in Photoshop and save a copy of it before starting work, just in case.
Step 3
Select on the toolbar "Scale" (the magnifying glass icon), increase the edited area of the photo to the desired size. Then select the Eyedropper tool and click on the healthy area of the skin next to the pimple. By this action, you will determine the color with which you will hide the skin defect.
Step 4
Select the Brush tool, move the cursor over the area to be retouched. The size of the circle will indicate the diameter of the brush. If the diameter seems to you large or small, you can change it - in the upper part of the program window, on the left, there will be an inscription "Brush" and the size of the brush is indicated. Move the cursor over the number of the brush size and select the desired size from the drop-down menu.
Step 5
Move the brush over the pimple and click. You will see that the area of the photo under the brush is painted in the selected color. Repeat this action several times to hide the entire defective area of the photo.
Step 6
Select the Blur tool. Move the cursor over the area to be retouched. Press the left mouse button - the area of the photo under the cursor will be smoothed. Gently moving the mouse, blur the entire retouched area. The place where the pimple used to be has acquired the color of healthy skin. The defect has been eliminated.
Step 7
In this way, you can remove any defects from the photo. Make it a rule from time to time to save a satisfactory intermediate result of work. This is necessary so that, if necessary, having done some wrong actions, you can go back. You can always step back a few steps by pressing alt="Image" + Ctrl + Z, but this option does not remember the whole process of work. Without saving the intermediate result, you may lose the opportunity to return to it.


