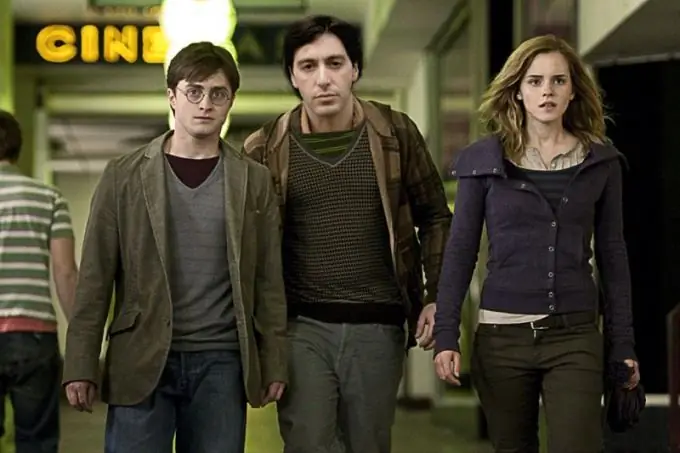
Using Adobe Photoshop, you can create virtual worlds in which you are friends with the idols of millions or fly on a dragon, enter Paris on a white horse or walk on Mars.

Instructions
Step 1
Open a photo with a celebrity and fold it without covering it. In this example, this is a snapshot of the main characters of "Potteriana".
Step 2
Open your photo. Resize it if necessary. This can be done using the free transform options. Press Ctrl + T, move the cursor over the corner knot and move the mouse. To resize the photo proportionally, hold down Shift on the keyboard. The example uses a photo of young Al Pacino - celebrity to celebrities.
Step 3
While holding down the Ctrl key, click on the thumbnail of the layer with your image - a selection will appear around it. Transfer the image to the clipboard using the Ctrl + C keys.
Step 4
Restore the main image and paste in your photo with Ctrl + V. Use the Move Tool to place it in a suitable place. In the example, Ron's face is replaced by Al Pacino's, but of course you can insert the entire shape. In this case, one must take into account the location of the other characters, where they are looking, etc.
Step 5
Using free transform, orient your photo in the desired direction. To get a mirror image, right-click inside the selection and select Flip Horizontal. If you're only inserting a photo of your own face, lower the layer's opacity to 50% to make it easier to adjust the size and position of your head on someone else's neck.
Step 6
Depending on where you placed your shape, use a layer mask or an inverted layer mask to remove unnecessary details. If you plan to be in the background, click on the Add layer mask button in the layers panel while holding down the Alt key. Your photo will be hidden. Use a white brush over your image to remove the mask. In this case, you will be peeking over the shoulders or arms of celebrities. Use a black brush to recover parts that were mistakenly removed.
Step 7
If your shape differs in lightness or color, click on the icon to adjust the image, not the mask. From the Image menu, choose Adjustments and Hue / Saturation. Change the position of the sliders to adjust the light and color.


