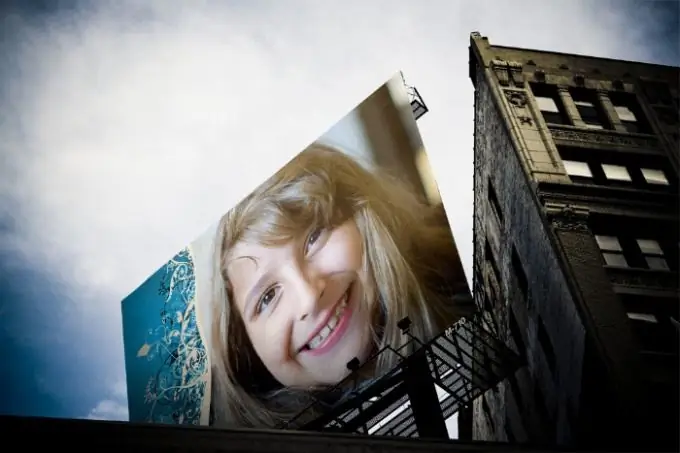
To be able to superimpose your photo on the finished image using a computer, you need an electronic copy of it, that is, the photo must be contained in a file of any graphic format. If this precondition is met, then it remains to do some simple operations with the help of an image processing program. In some cases, a simple browser instead of a graphical editor may be sufficient.

Instructions
Step 1
If you need to insert a photo into an existing image, then you need to start the procedure by starting any image editing program. It can be the simplest editor from the set of programs installed with Windows (Paint), and an advanced graphics editor Adobe Photoshop, and some other graphics editor. After starting the program, load an image into it, which should serve as a background for your photo. Whichever of the editors you choose, you can do this by pressing the key combination ctrl + o, finding the desired file in the dialog that opens and pressing the "Open" key. Upload the second file - a photo in the same way.
Step 2
Copy the desired area of the photo. If you need to insert the entire photo into the background image, then press the key combination ctrl + a to select the entire image, and then the combination ctrl + c to copy the selected area to the clipboard. These "hot keys" are universal for the vast majority of applications, but you can also use the corresponding commands placed in the editor menu. Their placement will depend on the editor used. For example, in "Photoshop" there is a separate panel on which various tools are located - if you need to insert only a part of your photo, then click on this panel the second icon ("Rectangular area"), and then use the left mouse button to select the desired rectangular slice and copy it. The third icon on this panel activates the Lasso tool, with which you can select a fragment of an arbitrary shape - the one that you circle with the mouse. There are other selection methods in Adobe Photoshop.
Step 3
Go to the background image tab and paste the copied photo by pressing ctrl + v. This completes the operation of inserting a photo into a picture, and you can save the combined image. But to get the most satisfactory result, it may be necessary to edit the composite image - exactly how this is done depends on the editor you are using. For example, in Adobe Photoshop, you can press ctrl + t to enable Free Transform for the pasted photo. After that, you will have the opportunity to adjust its size, tilt, move, etc. In addition, you can, for example, press the key combination ctrl + u and equalize the brightness and color saturation of the background and photo.
Step 4
Save the combined image by pressing ctrl + s. If you use the Adobe Photoshop editor, then by pressing the combination ctrl + shift + alt="Image" + s, you can open a dialog that will help you choose the most appropriate ratio of file weight and image quality depending on the file format.
Step 5
Use any web service if you want to do all this in a semi-automatic mode. For example, on the site https://ru.photofunia.com you can choose from a large number of blanks the most suitable background for inserting your photo, and then step by step simply answer the questions asked by the scripts of this site.


