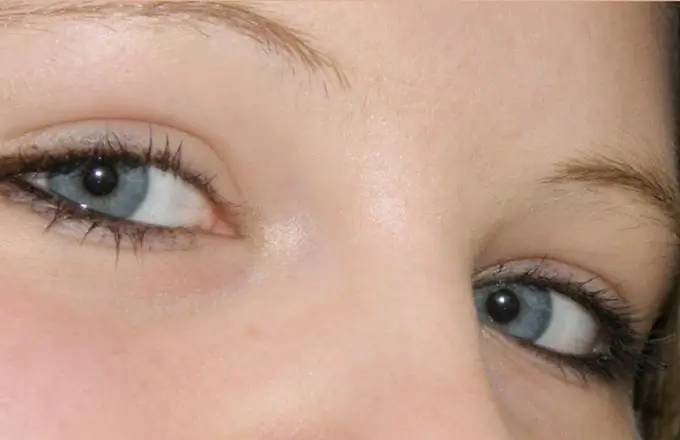
One of the tasks that you need to cope with in the process of photo processing is lightening the dark circles under the eyes. The Patch tool is suitable for retouching this area, and additional adjustments can be made by changing the blending mode of the layers.

Necessary
- - Photoshop program;
- - Photo.
Instructions
Step 1
Load the snapshot you want to edit into Photoshop. If the area of the photo you are going to work with contains small defects, remove them with the Healing Brush or Clone Stamp tool. In order not to make changes to the original photo, use the Ctrl + Shift + N keys to create a new layer on top of it and, choosing the desired tool, turn on the Sample all layers option in its settings.
Step 2
Pressing the Alt key, click on a fragment of the image suitable for copying the pixels that will cover the defect. After releasing the button, paint over the area that needs retouching. If the copy source differs from the edited fragment in color and brightness, try applying the Healing Brush. If this difference is absent or not significant to you, select Clone Stamp.
Step 3
After finishing the correction of small details, flatten the visible layers using the Alt + Shift + Ctrl + E keys. The original image and the retouched layer will remain in your document. If the image did not need preliminary correction, duplicate it using the Ctrl + J keys.
Step 4
Turn on the Lasso tool ("Lasso"), specify in the field Feather ("Feather") the amount of feather selection. Completely circle the dark area under one eye with the adjusted tool.
Step 5
Activate the Patch Tool and enable the Source option in its settings. Move the selection to an area of the image that will be suitable as a patch. In the process of moving a fragment, you can observe how the processed part of the picture changes depending on where the selection is.
Step 6
When you get an acceptable result, deselect it with the Ctrl + D keys and process the second eye in the same way.
Step 7
Perhaps the edited parts of the image will require a slight lightening. To do this, duplicate the top layer and put it on all other parts of the document in Screen mode ("Lightening"). Focusing on the brightness of the skin under the eyes, adjust the opacity of this layer. To reduce the lightening effect, make the top image more transparent by setting the Opacity parameter to less than one hundred percent.
Step 8
Use the Hide All option in the Layer Mask group of the Layer menu to hide the layer under the mask. To keep the lightness in the desired areas of the image, paint a black layer mask in these areas with white using the Brush tool ("Brush").
Step 9
Use the Save As option on the File menu to save an edited copy of the original snapshot.


