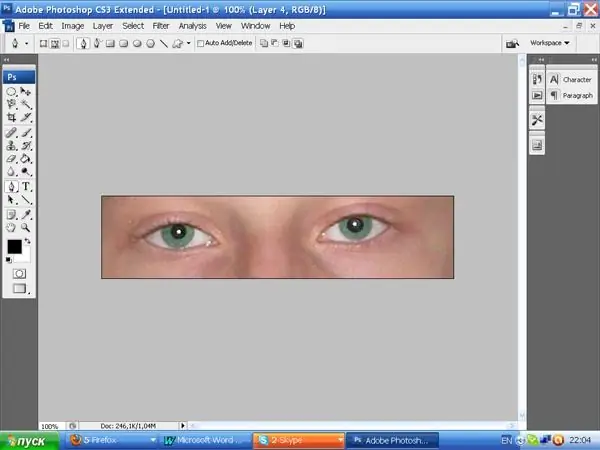
If the photo was taken in a dark place using the flash, red eyes may appear in the photo - the pupils glow an eerie red light. This trouble happens mainly with the owners of blue and green eyes. With the help of Photoshop, you can get rid of this disadvantage of photography.

Necessary
Adobe Photoshop photography
Instructions
Step 1
Open the photo with Photoshop. Use the Rectangular Marquee Tool to mark the area around the eyes and copy it to a new layer using the Ctrl + J combination.
Step 2
In the version of Photoshop, starting with SC3, a special function for removing red-eye effect, the Red Eye Tool, has appeared. Press the J key, in the active window on the toolbar, expand the list by clicking on it with the right mouse button, and select the required tool.
Step 3
On the property bar, select the desired Pupil Size and Darken Amount parameters using the selection method. Hover over the red pupils and just click. If you are not satisfied with the result, press Alt + Ctrl + Z and change the parameter values for this tool.
Step 4
For owners of an older version of this graphics editor, there is a more complex method. Select the pupils using the method you like - for example, the Elliptical Marquee Tool. In order to mark two pupils at once, on the properties panel, click on the second from the left Add to selection icon. In order to fit the selection to the size of the pupil, in the main menu select the item Selection, then Transform Selection. A transform frame appears around the selection.
Step 5
Copy the selection to a new layer using the Ctrl + J combination. In the main menu go to Image, then Adjustments and select the Black & White option. After that, using the Ctrl + L keys, go to the "Levels" window and, moving the gray slider to the right, change the pupil color.
Step 6
Copy the adjusted layer. On the toolbar, select white for the foreground color. Take a hard brush with a diameter of 6 pixels and put white dots in the pupils if they are blurred and darkened during retouching.
Merge the layers using the Shift + Ctrl + E combination, or go to the Layer item in the main menu and select the MergeVisible option.


