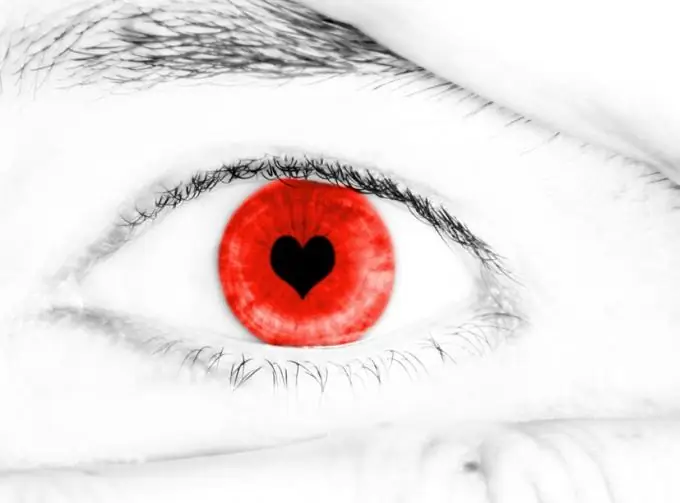
Red-eye is one of the most common defects that occurs in photographs when photographing people and animals using flash. The red-eye effect is caused by the selective absorption and reflection of light from different parts of the spectrum by the retina. In other words, the eyes almost completely absorb the light from the flash, but its red component is reflected and enters the camera lens. However, you can remove red eyes in a graphics editor. For example, in Photoshop.

It is necessary
graphic editor Adobe Photoshop
Instructions
Step 1
Open the photo file in the graphics editor Adobe Photoshop. To do this, expand the "File" item of the main menu and select the "Open …" item, or press the Ctrl + O keys. In the dialog that appears, go to the required directory, select the file in the list and click the "Open" button.
Step 2
Position the image and select the display scale in the viewport for more precise work. Activate the "Zoom Tool" from the toolbar. Move the mouse cursor over one of the areas of the photo to be corrected. Pressing and holding the left mouse button, draw a frame around the desired area (one of the eyes with a red pupil). Release the button. If necessary, adjust the scale and position of the view using the same tool and scroll bars.
Step 3
Activate the "Red Eye Tool". To do this, press and hold the left mouse button over the first button of the second group of toolbar elements until the menu appears. Click on the "Red Eye Tool" item in the menu.
Step 4
Adjust the parameters of the tool "Red Eye Tool". In the top bar, enter your preferred values in the Pupil Size and Darker Amount fields. The Pupil Size determines the ratio of the pupil size to the total size of the corrected area. The "Darker Amount" parameter sets the saturation of the black color in the generated image.
Step 5
Remove one of the red eyes using the "Red Eye Tool". Click with the mouse in the center of the red pupil image. Decide if the result is satisfactory. If necessary, undo the changes by pressing Ctrl + Z, adjust the parameters of the tool and perform the operation again.
Step 6
Remove all red eyes in the photo. Repeat steps 2-5 for each area of the image that needs correction.
Step 7
View the resulting image. Select the zoom level to see the entire photo. Make sure there are no faces with red pupils in the photo.
Step 8
Save the corrected image. Select "File" and "Save for Web & Devices …" from the menu. In the dialog that appears, specify the storage format and compression ratio of the image. Click the "Save" button. Specify the save directory and file name. Click the "Save" button.


