The task often arises to remotely connect to a computer on a local network. The reasons for this can be different: remote assistance with work or troubleshooting. There are many programs, but most of them require user consent to connect.

Necessary
- two computers in one local network
- TightVNC Server program
- mRemote program
Instructions
Step 1
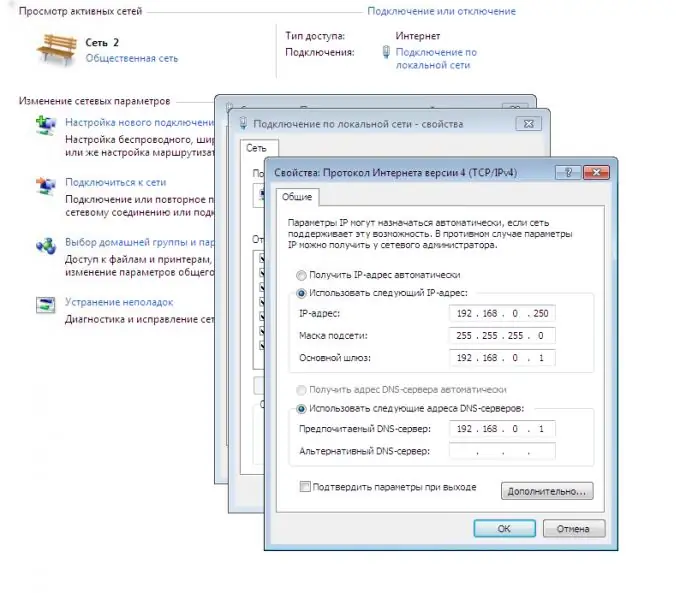
To begin with, the computer to which we will connect must be assigned a static IP address. We go to the "Network and Sharing Center", look for our connection, click "Properties", Internet Protocol version 4, "Properties", select "Use the following" IP address "and come up with an IP according to the rules of your local network.

Step 2
In the system tray, press the up arrow, then "Configure" and look for the server in the TightVNC list, which we set the value "Hide icon and notifications". Now, outwardly, connecting to a computer will not distract users in any way.
Step 3
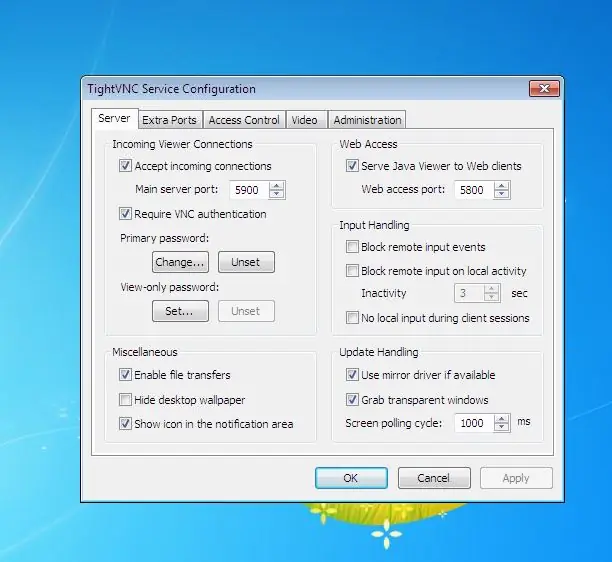
Install and configure the TightVNC program. After installation, we come up with a password. More precisely two - it is better to use the same one, then click OK, the window will close. The program itself can be found on the official website www.tightvnc.com

Step 4
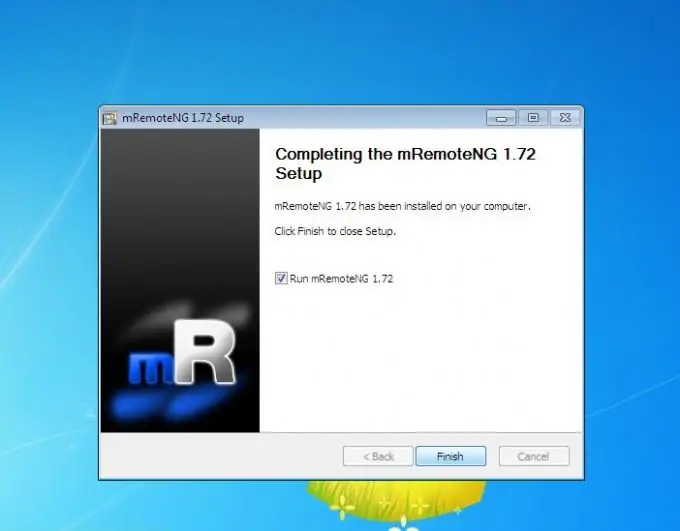
We proceed to setting up the computer from which we will connect (hereinafter referred to as the client). Install the mRemote program, you can also find it on the official website

Step 5
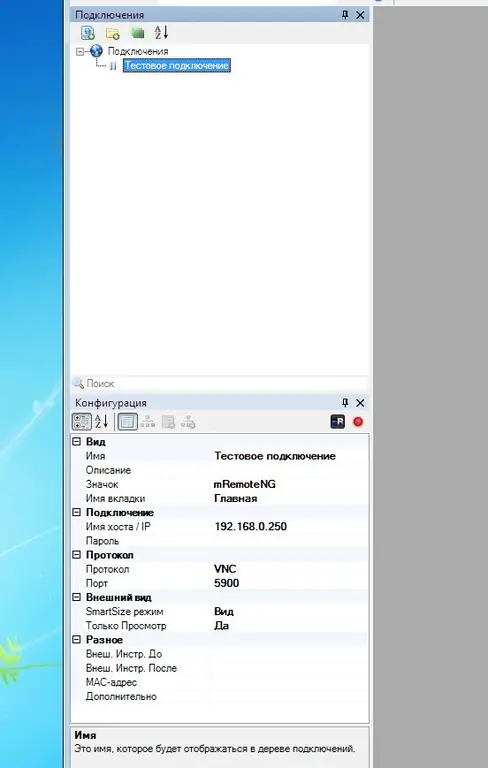
After starting, select the use of the recommended parameters, then press Shift + F4 and give a name to our connection, for example "Computer in accounting". Below, on the right, you can see the settings window. In the protocol field, we write our static IP server and the password that we specified. Next, select the VNC value in the "Protocol" field and set the "Yes" value in the "View only" field, otherwise it will be seen on another computer that someone is moving the mouse.

Step 6
Now it remains to connect. We double-click on the connection and, if everything is configured correctly, you will see the monitor of the desired computer.


