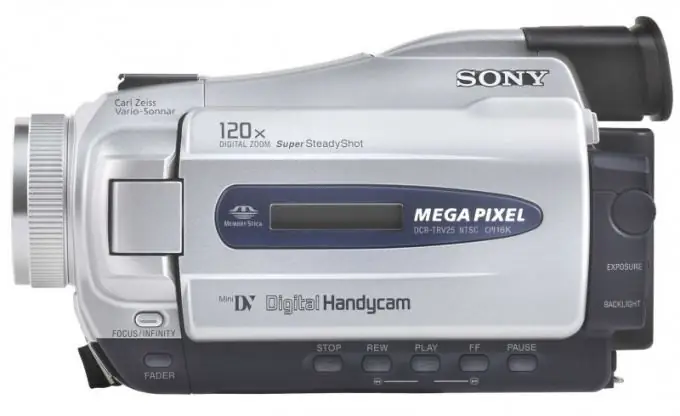
The consumer video industry has already moved to fully digital cameras with video storage on hard drives or memory cards. But many still have excellent mini DV cameras. There is only one drawback - it is more difficult to handle them, and in order to watch the video or share the footage with someone, you need to rewrite mini DV in digital format, for example, on a disk. You can entrust it to professionals or do it yourself on your computer.

Necessary
- - camera,
- - computer,
- - IEEE1394 cable,
- - controller board 1394,
- - video processing software,
- - blank disc for recording
Instructions
Step 1
Check the package contents of your camera. There may be detailed instructions, a FireWire-1394 or I-link cable, as Apple calls it, as well as video programs. If there is no cable in the kit or it has been lost for a long time, buy such a cable. It's called IEEE1394, and cameras need a 6-pin version at one end and 4-pin version at the other end.
Step 2
Prepare your computer to connect the camera. To do this, inspect the back wall of the system unit or the side panels of the laptop - a 1394 or FireWire connector is quite rare, but before spending money on this controller, it is worth checking. If you have a laptop, then most likely you will not be able to use it to rewrite mini DV to disk, since it is very difficult to install a 1394 controller card in a laptop. Buy this card at a computer hardware store and install it in your PC. If you have never added expansion cards to your computer, it is better to contact the specialists.
Step 3
Install the necessary software for working with video material. If you have a disc from your camera manufacturer, use that. You will need a program to capture video from a camera, a video editing program, and a program to write the resulting file to disk. You can use the utility built into the operating system to write to a disc. And to translate video from a camera and its simplest processing, it is better to use the ScenalyzerLive program. It automatically detects recording scenes and marks them out.
Step 4
Download it from the developer's site, which is located at https://www.scenalyzer.com, in the Download section. If you use this utility, you will need another video compression program. For example, Any Video Converter. It can be downloaded from https://www.any-video-converter.com/products/for_video_free/. More demanding users should pay attention to non-linear video editing packages, such as Pinnacle Studio or Adobe Premiere, but they are more complex and cost a lot of money.
Step 5
Connect the camera to your computer. Plug the small connector into the slot on the camera, and the large connector into the computer, and more specifically into the slot on the 1394 board. Power on the camera, and connect the camera's power adapter so that it does not turn off during the dubbing process. Turn on the PC connection mode in the menu, if available.
Step 6
Start the ScenalyzerLive program. To do this, double-click on the shortcut on the desktop. Select your camera from the drop-down list, under the black rectangle on the left side of the program. Press the play button on the camera, first rewind the tape to the beginning of the recording. Press the Ctrl + Space key combination to start copying the video. It is important that there is enough free space on the disk. Note that uncompressed video is approximately 200 megabytes per minute of video.
Step 7
Open Any Video Converter. Click the button that says Add Video and select the videos you want to compress and burn to disc. In the right part of the program window, select the data format from the drop-down list: if you want to burn a disc for a consumer player, select the line "DVD Video Pal movie". When you finish selecting and adding fragments, click the "Convert" button, it is located at the top of the program window, in the very center. Wait until the program finishes. Depending on the power of the computer, this can take from half an hour to several hours.
Step 8
Insert a blank, recordable disc into your computer. The autorun menu will appear on the screen, from which select the "Burn blank disc" item. Select the folder with the finished files with the right mouse button and left-click on the "Send …" line. Specify your drive from the proposed options. Click the Burn Disc button and wait for the burn to finish.


