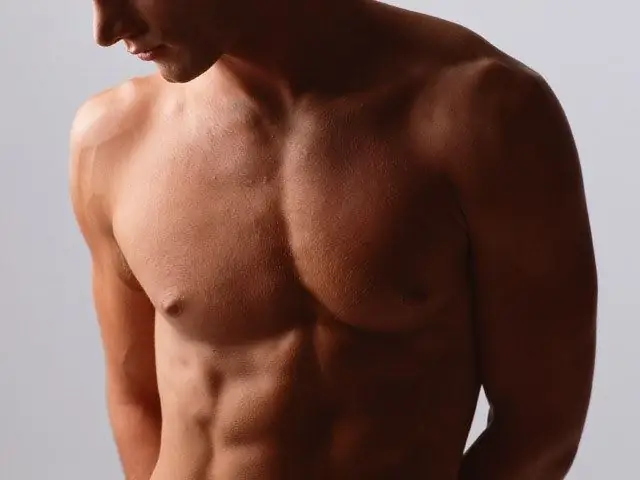
The tools and tools of the Adobe Photoshop editor allow not only adjusting, but also quite drastically changing digital images, adding realistic details and effects to them. So the person in the photo, who does not have an athletic physique, can literally be turned into an athlete. For example, make him a beautiful press or visually increase his muscles.

Necessary
- - the original image;
- - installed Adobe Photoshop.
Instructions
Step 1
Open the image of the person who needs to make a beautiful press in Adobe Photoshop. Press Ctrl + O on your keyboard or select "Open…" in the File section of the main menu. Specify the media and directory in the dialog that appears. Highlight the required file. Click the "Open" button.
Step 2
Add two new layers on top of the existing background. To do this, in the main menu, sequentially select the items Layer, New, "Layer …" or press the keys Ctrl + Shift + N.
Step 3
Fill the created layers with gray. Click on the element representing the foreground color in the toolbar. In the # box of the Color Picker (Foreground Color) dialog, enter 808080. Click OK. Activate the Paint Bucket tool. Click anywhere on the image. Using the Layers panel, switch to the second of the added layers. Click again anywhere in the image.
Step 4
Change the blending modes of the top two (grayed out) layers. Make the topmost layer active. Change the blending mode to Linear Light. Set the second layer mode to Soft Light.
Step 5
Create a shadow base for the image of the press. Switch to a layer with a Linear Light blending mode. Activate the Burn tool. Select a brush of a suitable diameter with a low (around 10%) Hardness parameter, using the window that expands when you click on the Brush element in the top panel. Add shadows for the protruding abdominal muscles.
Step 6
Add a base of highlights on the abdominal muscles. Activate the Dodge tool. Go through the areas of the image that you want to lighten with the brush.
Step 7
Refine the contours of the created base for the image of the press. Select the Blur Tool. Change the brush options as needed. Blur the borders of shadows and highlights where needed.
Step 8
Make your abs more realistic. Switch to a layer with Soft Light Blending Mode. Do the same as described in steps 5-7, creating more precise and softer contours and outlines of the muscles.
Step 9
Save the document in PSD format so that you can return to editing it later. Use the keyboard shortcut Ctrl + Shift + S. Similarly, you can export the image to the desired format.


