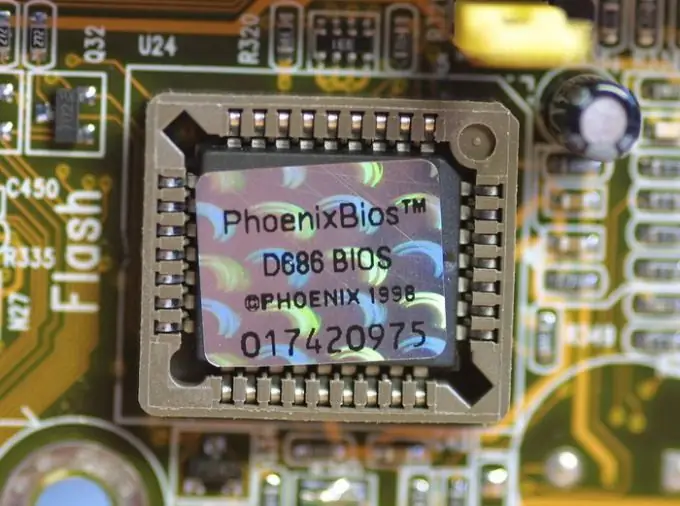
If you decide to update the BIOS version of your laptop and the operation fails, the only way out of this situation is to restore the system. The loss of performance during the firmware threatens you with an amount of up to 3 thousand rubles if you go to the service center. To spend less, you should try to do it on your own.

Necessary
ASUS laptop, flash-media, microSD card
Instructions
Step 1
After unsuccessful flashing, you can observe the following laptop symptoms:
- when the laptop is turned on: the screen does not light up, the fan runs at full power, the laptop does not respond to any key combinations, the on / off button does not work;
- when the laptop is booted, several entries are visible on the screen, but the laptop shuts down without passing the POST check.
Step 2
The entire recovery process will be reviewed on an ASUS laptop. Flash media must be up to 2 Gb, formatted in FAT16. It is advisable to use a flash drive with read / write indicators. In this case, you will know exactly what is happening with the flash drive: simple or read / write. If you have a MicroSD card that has become common in digital cameras, use it. The card reader is registered in the system as a standard device.
Step 3
You also need a computer with an Internet connection. On this computer, you will search for the desired firmware file and create a bootable USB flash drive. After downloading the firmware file, extract it from the archive. Give a short and succinct name, add the.bin extension at the end.
Step 4
Let's start the process of updating your laptop's firmware. Disconnect the laptop: unplug the power cord by pulling it out from the mains, remove the battery.
Step 5
Insert your flash drive into the USB port.
Step 6
Press and hold the following keyboard shortcut Ctrl + Home.
Step 7
Power on the laptop (mains only, no battery needed).
Step 8
Press and hold the Power button.
Step 9
After all the LEDs are on, only 2 should remain lit - NumLock and CapsLock.
Step 10
Now you can release the Ctrl + Home buttons.
Step 11
A few seconds after the hard disk is active, the laptop will restart.
Step 12
Easy Flash (internal firmware) will start automatically.
Step 13
The BIOS flashing process will begin. It is best to sit a little longer and not touch the laptop.
Step 14
The flashing operation will take up to 5 minutes in total. After that, the laptop will turn off automatically.
Step 15
Unplug the laptop, insert the battery. The laptop is now ready for use.


