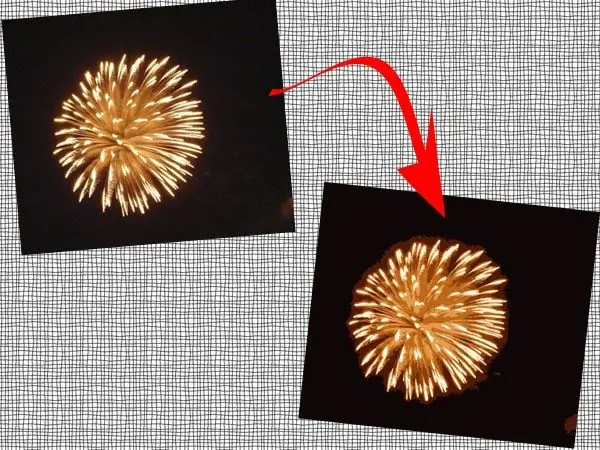
In the work of a web designer, it is very often required to convert a raster image into a vector one. In the graphics editor Adobe Illustrator, there is a Trace options function for this.

Necessary
Adobe Illustrator program
Instructions
Step 1
Open the required picture in Adobe Illustrator: click the File -> Open menu item or the Ctrl + O hotkeys. In the new window, immediately click OK.
Step 2
Take the Selection tool (hotkey V) and click on the picture to select it. Find the Control panel, which is located under the main program menu. If it is missing, click the Window -> Control menu item. Find the Live trace button on this panel. Next to this button there is another one, in the form of a triangle looking down, click on it and in the menu that appears, select the lowest item - Tracing options. A new window will open.
Step 3
Click on the Mode menu. Here you can specify the tracing mode. If you select Black and White, the result will be black and white, if Grayscale will be monochrome, and if Color will be in color. In the Threshold item, a threshold is set, after which some pixels turn into white, and others - into black. It is active only for Black and White mode. The Max colors column sets the maximum number of colors in the final image, this item is active only for the Grayscale and Color modes.
Step 4
Find Blur. It can be used to smooth out minor imperfections and uneven edges. With the Resample setting, you can speed up the tracing process for large pictures, but this is fraught with unimportant results.
Step 5
After setting the necessary settings, click the Trace button, it is located in the upper right corner of the Tracing options window. After some time, the image is traced. Now click on the Expand button located on the Control Panel. The image will be converted to bezier curves.
Step 6
To save the result, click the File -> Save as menu item or use the Ctrl + Shift + S hotkeys. In the window that appears, enter a name for the future file, specify the required format and finally click "Save".


