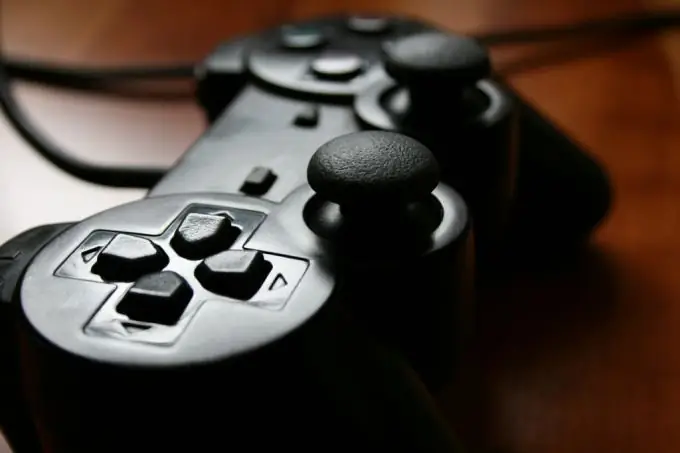
The launch of PS2 games on PC takes place through special utilities-emulators, which are the best solution for launching console games. Modern emulators allow you to launch applications written for the PS2 with just a couple of clicks. It is enough to have a fairly powerful computer and an operating system of the Windows or Linux family.

Necessary
- - PCSX2 emulator;
- - ISO image of the PS2 game
Instructions
Step 1
Download PCSX2 emulator from the developer's official website. Please note that the computer must have the latest version of DirectX installed, which can also be downloaded from the official website or found on the disc with new games.
Step 2
Run the emulator installer. The setup wizard will open and ask you about the desired interface language. Specify the type of video plugin - SSE2, SSSE3 or SSE4.1. Core2 Duo owners can install the latter, while AMD owners will need SSE2.
Step 3
Download bios for PCSX2 and in the installation window specify the folder where it is located. Next, an emulator window and a console will appear, in which all emulation processes will be displayed.
Step 4
The "Launch" menu is directly responsible for the very emulation of the game. Download the ISO image of the game you want to play on your computer. Under CD / DVD, select "Use ISO", and at the top - "Select ISO" and "Browse …". Then select "Run CD / DVD (fast)". Then go to the "Settings" menu.
Step 5
Click on the item "GS-window". It sets the aspect ratio of the window in which the game is emulated, as well as the resolution. PS2 supports 4: 3. If the game does not have the ability to turn on the 16: 9 ratio, then it would be preferable to leave the first option. If you select the widescreen display, image distortion will be observed.
Step 6
The item "Speedhacks" improves the speed of emulation through various operations. Use these options carefully as you may experience various problems and side effects as you play. The "EE Cyclerate" and "Cycle Rate" sliders have little effect, so it's best not to touch them.
Step 7
Go to Settings - Video (GS) - Plugin Settings. "Renderer" is responsible for the DirectX used. In case of problems with the image, turn on the "Interlacing" item. Turn off the Native option.
Step 8
To configure control go to the "Settings" - "Joysticks" menu. After making the necessary settings, you can launch your game ("Launch CD / DVD (fast)"). If during the game there are noticeable distortions, then you can always return to the settings and change them.


