Surely you have ever experienced such an unpleasant situation as the loss of necessary data from your hard disk. This can happen for various reasons - disk formatting, system failure, accidental deletion, and so on. No one is safe from data loss, so you should always be prepared for such a situation. In addition to creating backup copies of files, you must be able, if necessary, to recover lost data from the hard disk. There are several ways to do this, and in this article you will find instructions on how to recover your lost files.

Necessary
R-Studio program
Instructions
Step 1
Select the program with which you will perform the recovery. When recovering FAT32, NTFS, EXT2, EXT3, UFS file systems, it is most convenient to use the R-Studio program.
Step 2
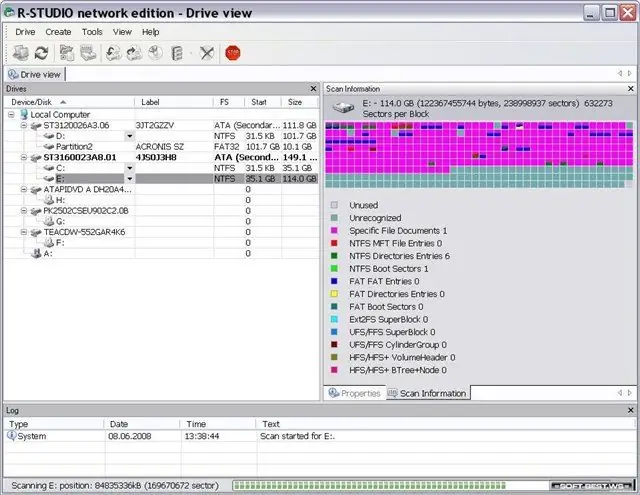
Download and install the selected program on your computer. Remember that you need to install the program not on the drive from which you want to recover data, but on some other one. Let's say you decide to use R-Studio. After installation, run the program with administrative rights. On the left you will see a list of drives connected to the system. If you click on any of the items in the list, you will see the status of the drive or partition and its properties. Select the drive you want.
Step 3
Configure scan settings. To do this, uncheck some of the items in the "File Systems" list, if necessary. If the partition table is damaged and logical disks are not displayed, then limit the scan area to the partition from which you need to recover data.
Step 4
Now press the "Scan" button and start, thereby, scanning. This process can take quite a long time if you need to scan a large amount of information. Review the results after the scan is complete. Good options will be highlighted in green, questionable options in yellow, and bad options in red. If there are more bad options, then it is better to go to the "RawRecovery" function. Select the option you want and click "Open Drive Files".
Step 5
Wait while the program finishes building the directory tree. The "Root" directory will contain the root file system. Check the boxes to mark the files that you want to recover. Click the Recover Marked button. In the event that you decided to restore all the information found, just click "Recovery". Select the path to save the recovered files, click "OK".
Step 6
Wait for the process to complete. That's it, now your data has been restored.


