The creators of the Windows 8 operating system provided a built-in hard drive partitioning function. Now you do not need to download a separate software for this, everything is done using standard Windows tools.
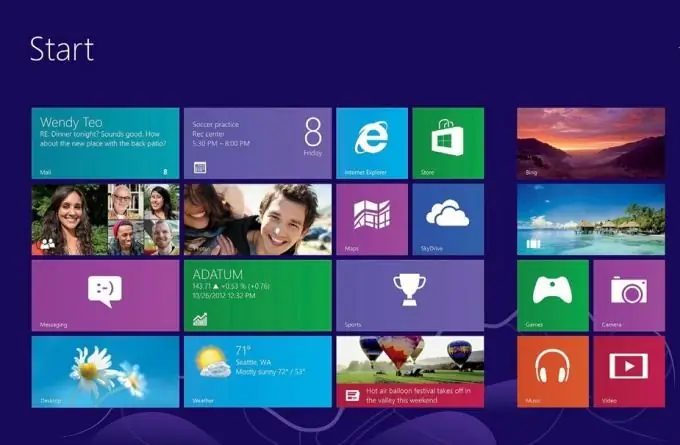
Necessary
- - a computer with the Windows 8 operating system;
- - free hard disk space.
Instructions
Step 1
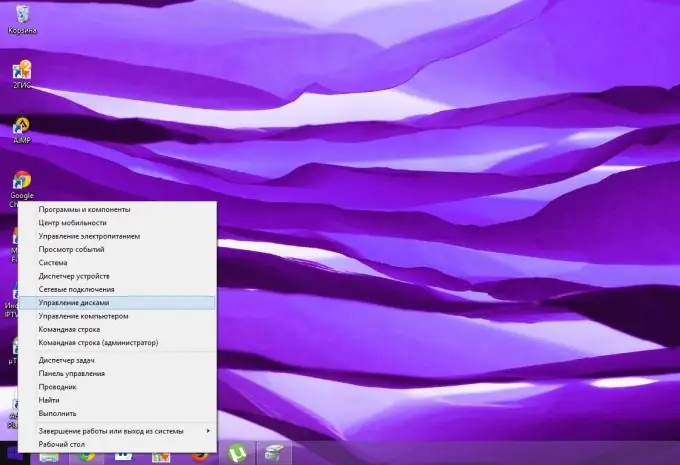
Right-click on "Start" and select "Hard Disk Management".
Step 2
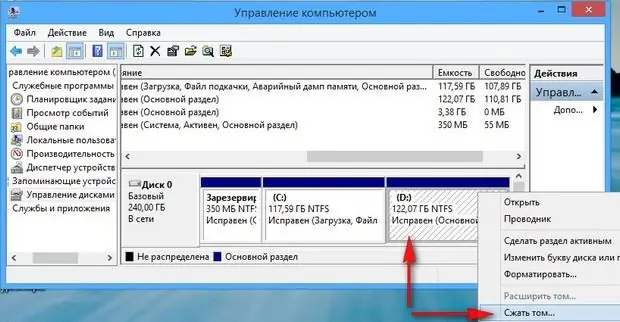
In the window that appears, select the disk that you would like to split, right-click on it, and then click "Shrink Volume". After that, the system will determine how much space can be allocated for the new partition.
Step 3
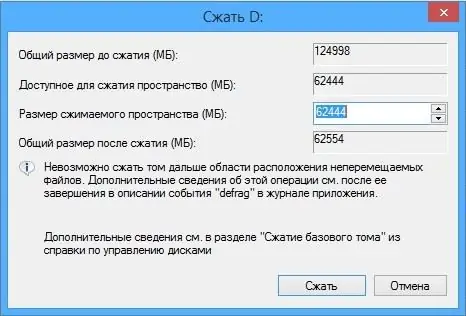
The system will display its calculation in a new window. In the "Compressible space size" field, enter the size of the new partition, and then click the "Compress" button. The allocation process can take several minutes.
Step 4
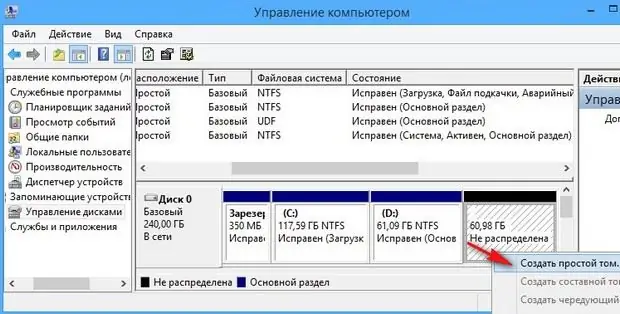
After these steps, you will have a new, unallocated area. You need to right-click on it and select "Create Simple Volume".
Step 5
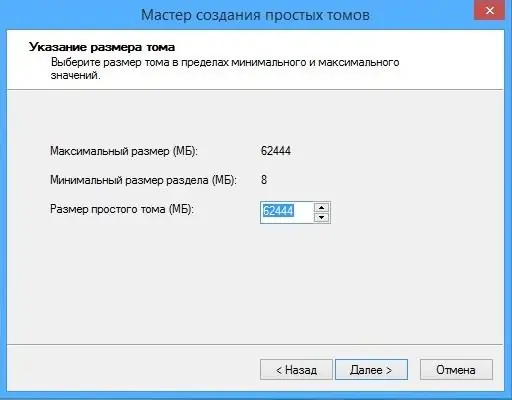
The Simple Volume Wizard dialog box appears. Here you should first click the "Next" button, then enter the size of the simple volume in the appropriate field and click "Next" again.
Step 6
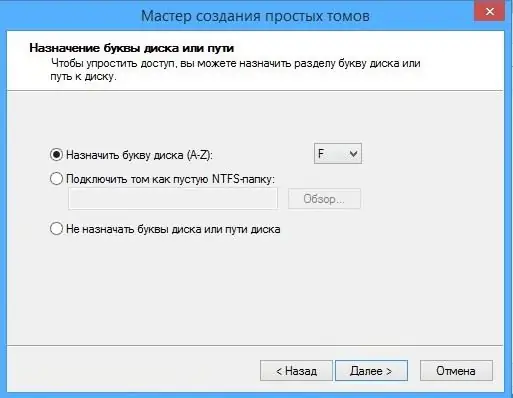
The next step is to select a letter designation for the new section.
Step 7
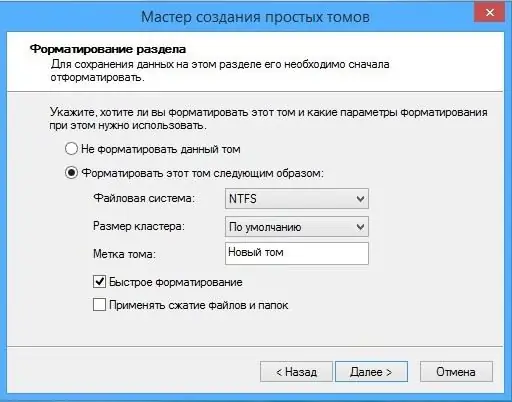
Finally, select the file system format (NTFS by default), click Next and Finish.
Step 8
After completing the above steps, the hard disk partitioning process will be completed, you will see it on your screen.


