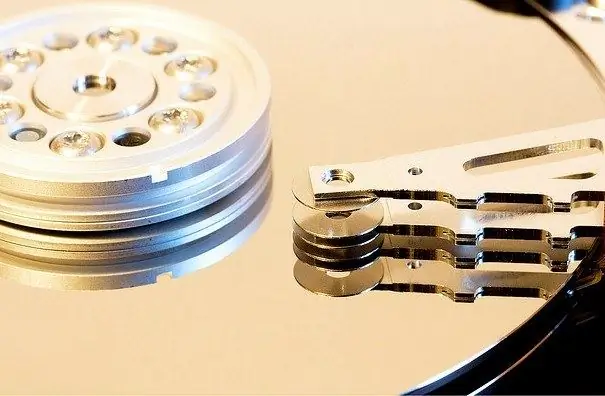
BIOS, or Basic Input / Output System, is designed to give the operating system access to the hardware resources of a computer. There are many different settings that can be made in the BIOS, but there is no disk partitioning facility. In order to split the hard drive into several partitions, you should use the capabilities of the OS or special utilities.

Instructions
Step 1
You can split a disk into several partitions using special programs or by the OS itself - this feature is present in Windows 7. To split a disk using the standard Windows utility, right-click on the “My Computer” icon and select “Control” from the context menu.
Step 2
In the "Computer Management" window that opens, find and open the "Disk Management" section. You will see disk partitions, including hidden ones - if any on your computer. Do not touch hidden partitions, your task is to partition the C drive into two or more partitions.
Step 3
Right-click on the C drive and select "Compress volume …" from the context menu. A window for requesting space for compression will pop up, wait until the space is found. A new window will appear, by default the parameters specified in it correspond to the partition of the disk approximately in half. The line "Compressed space size" shows the size of the new disk. If it doesn't suit you, just change it. Then click the Compress button.
Step 4
After the compression procedure, unallocated space appears on the disk. Right-click it and select Create Simple Volume from the context menu. The Volume Creation Wizard will start, click "Next". In the window for specifying the size of the volume, do not touch anything, click "Next" again. In the next window, select a letter for the volume - for example, D and click "Next" again. Then check the option to format the new volume in NTFS, check the box "Quick format". After formatting, the new disk is ready for use.
Step 5
If you need to partition a disk on a new computer without an OS installed, use the Acronis Disk Director utility launched from a bootable CD. This program has very large capabilities for working with disks, it can be used not only to partition them, but also to recover lost partitions after various failures.
Step 6
When starting the program, select the "Manual" option, this will give you a full set of possibilities for working with disks. The partitioning process itself is very simple, but keep in mind that the program does not perform all the actions at once, but only writes them to memory. To implement the changes, click the "Run" item in the program menu or click the icon in the form of a start flag.


