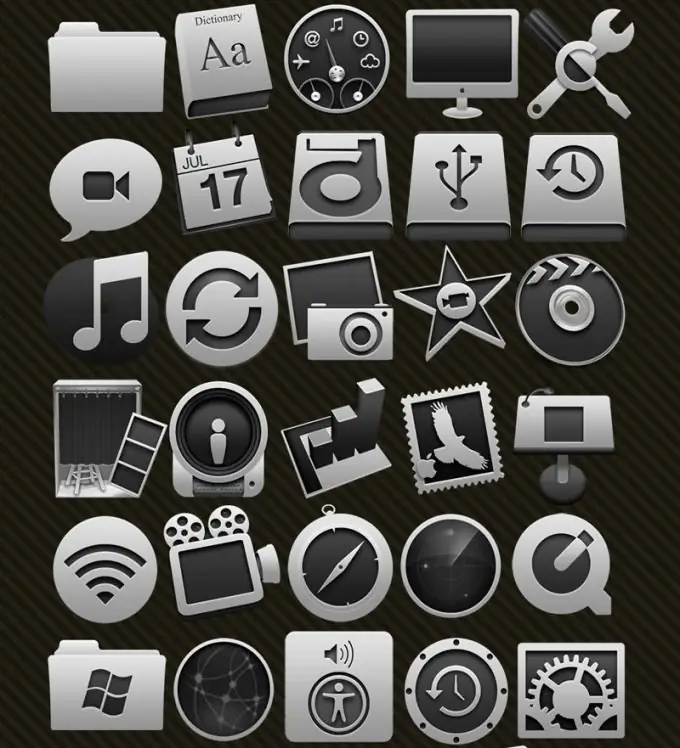
There are many ways to change the order of the annoying interface of your favorite operating system. The easiest way to refresh the look is by replacing the standard icons of frequently used folders and files.

Necessary
- - computer;
- - a set of icons.
Instructions
Step 1
To change the shortcut for a specific format, file or folder, you first need the icons themselves. You can choose new icons from the pre-installed Windows set. The operating system has a large set of shortcuts that are usually rarely used. If among the standard set you cannot find the images you need, download a selection of icons from the Internet. It is very easy to find them, there are even special sites for changing the appearance of Windows.
Step 2
After selecting the desired icons, open the Start menu. Next, select the "Control Panel" item, in the window that opens, click on the "Appearance and Themes" button. A menu will open from which you can customize the appearance of the desktop elements or change the skin. Select the Folder Options submenu. In the dialog box, click on the File Types tab, a list of all registered file formats will appear. Select the format from which you want to change the icon and click the "Advanced" button. Click on the "Change icon" button, specify the path to the desired icon and click Ok. To save the changes made, click on the "Apply" button.
Step 3
To change the icon of an individual file or folder, right-click on the object you are interested in and select Properties from the context menu. A separate window will open, in it click the "Change icon" button (for a folder, this button will be located on the "Settings" tab). Then select any icon from the standard set or specify the path to your folder with icons. Save the changes by clicking on the "Apply" button.


