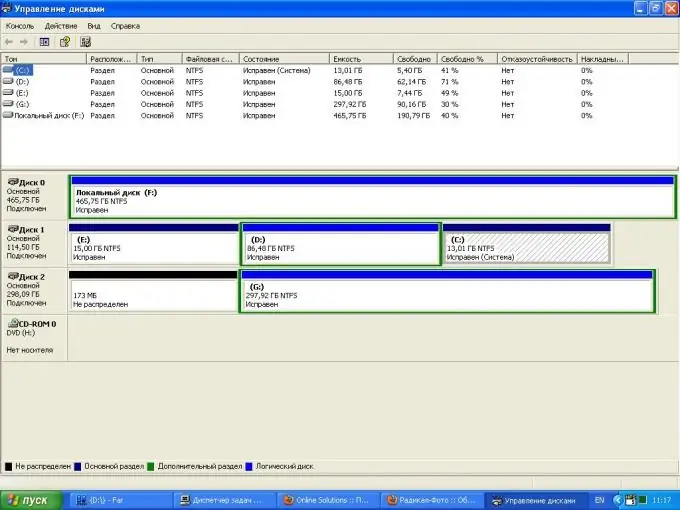
Changing the drive letter in Windows operating systems is carried out using the Disk Management snap-in. 26 letters are allowed, from A to Z. The letters A and B are reserved for removable drives. The rest of the letters can be used for drive names.

Instructions
Step 1
Log on to the system as a computer administrator.
Step 2
Press the "Start" button to enter the main menu of the system and go to the "Control Panel" item to perform the operation of changing the drive letter.
Step 3
Select "Performance and Maintenance" and select "Administration".
Step 4
Open the "Computer Management" item by double-clicking the mouse and go to the "Disk Management" section on the left pane of the application window.
Step 5
Select the desired disk and open the service menu by right-clicking on the required disk field.
Step 6
Select Change Drive Letter or Drive Path and click Add to assign a drive letter.
Step 7
Specify the item Assign a drive letter (A-Z) and select the desired letter from the proposed list.
Step 8
Click the OK button to execute the command.
Step 9
Select the "Change Drive Letter or Drive Path" command and click the "Change" button to edit the drive letter.
Step 10
Specify the item Assign a drive letter (A-Z) and select the desired letter from the proposed list.
Step 11
Click the OK button to execute the command.
Step 12
Select Change Drive Letter or Drive Path and click Remove to remove the drive letter.
Step 13
Click the "Delete" button and confirm your choice by clicking the "Yes" button.
Step 14
Use the No button when an error message appears and you cannot change the drive letter. Close all programs using the data of the required volume and replace the drive letter as described above.
Step 15
Use the No button when an error message appears and you cannot delete a drive letter. Exit all programs using the data of the required volume, and delete the drive letter as described above.
Step 16
… Select Yes to remove the drive letter the next time you boot your computer.


