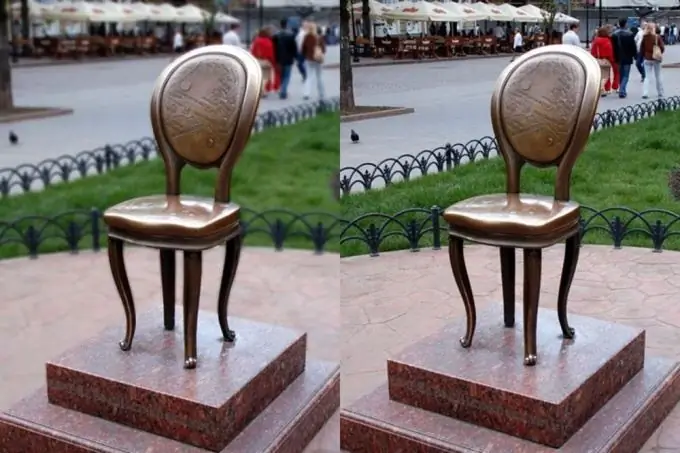
Quite often, in a good shot, the background is spoiled by the appearance of some unwanted detail in the frame. Take your time to cut out unnecessary - you can correct the picture by blurring the background.

Necessary
In order to blur the background and highlight the main thing in the photo, you need to use the Adobe Photoshop program
Instructions
Step 1
Open Photoshop and add the photo you want to work with. This can be done using the File menu and then Open. Find the folder with the desired photo and double-click on it.
Step 2
On the toolbar, select the Polygonal lasso tool and start selecting the fragment you need, which will remain intact, i.e. object in the foreground. In order to select an object using this tool, you will have to work by pressing the left mouse button all the time - i.e. snapping to her. The selection should be completed by returning to the point from which you started, otherwise the selection will not occur.
Step 3
Next, create a new layer with the object you selected. To do this, you need to press two keys together: Ctrl + J. Now you have a new selection layer.
Step 4
Go to the previous layer - usually this is done in the menu, which by default is located at the bottom right, in the Layers tab. This layer should be named “Background”.
Step 5
Having selected the previous layer, go to its blur: select from the menu Filter, then Blur and Gaussian Blur, where using the slider select the necessary blur strength.
Step 6
Now go to the layer with the fragment you cut out, and armed with the Eraser tool, erase all unnecessary, not related to this selection.
Step 7
It remains to connect the two layers with which you worked. Now press Ctrl + E at the same time. Everything is ready, the background is blurred and the desired object is selected.
Step 8
Save the resulting photo. To do this, go to the File menu and click Save as. Place the file in the folder you want, remembering to rename it.


