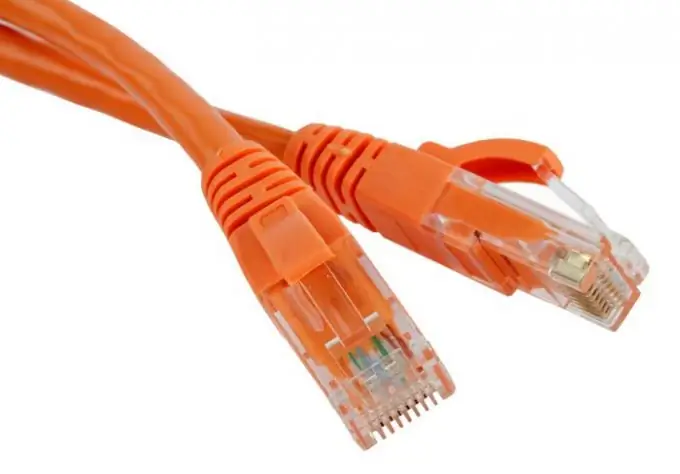
Typically, a network connection is created automatically, for example, when installing drivers for a network card. If the installation went wrong or you need to create a new network connection to access the Internet or another PC, you need to do this manually.

Instructions
Step 1
To do this, go to the operating system. If you are working in Windows, go to the "Start" menu, select the item called "Control Panel". You can also do this by right-clicking on the "My Computer" shortcut and selecting "Control Panel".
Step 2
Then go to the "Network connections" section and on the right side of the network task pane click on "Create a new connection". This will open the new connection wizard. Select the required item. For example, if you need to create a connection to the Internet, select "Connect to the Internet", then click "Next" and select "Set up a connection manually", then select the type of connection.
Step 3
Now you need to decide on the settings for the new network connection. If you have an Internet connection, you will need to enter the username first and then the password. If the network is local, write down the minimum network parameters. And for this you need to activate the network connection you created, select "Internet Protocol TCP / IP", then click "Properties", select the item titled "Use the following IP address" and enter the required parameters. For example, the following values can be given:
- IP address - 192.168.0.1;
- subnet mask - 255.255.255.0 (standard, usually set automatically);
- the main gateway - 192.168.0.2;
- then, if necessary, enter your preferred DNS server.
Step 4
If you are users of the Linux operating system, go to the "System" menu, select the "Administration" and "Network settings" section.
Step 5
In the case of the "operating system" MAC OS, proceed in the same way as in the case of Windows.


