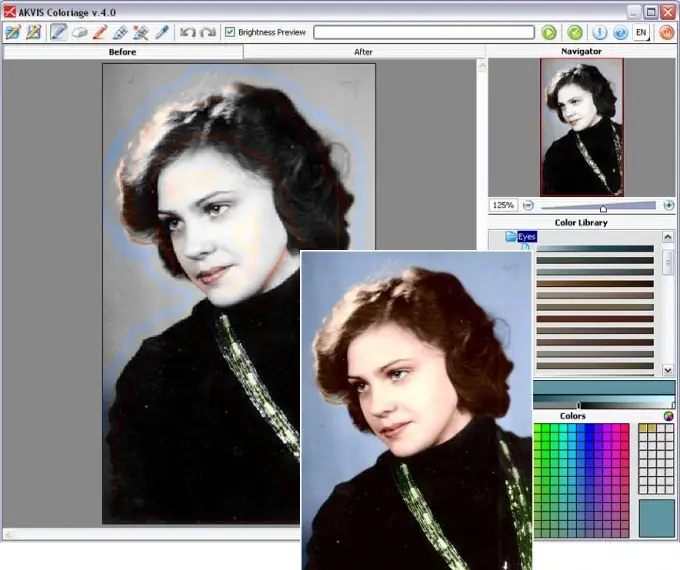
Photoshop opens up great opportunities in photo editing for those who know how to work in it, but you will see even more opportunities if you install additional plugins in Photoshop, which are displayed in the filters menu and allow you to process images even more interesting and better and give it new visual effects.

Instructions
Step 1
You can find a variety of plugins freely available on the Internet. They are in.8bf format. Find those filters and plugins that are useful to you, and that you need for full-fledged image processing, and after downloading each plug-in of this format, you need to place the files in the appropriate directory - C: // Program Files / Adobe / Adobe Photoshop / Plug-Ins / Filters. Copy one or more downloaded plugins to this folder.
Step 2
Launch Adobe Photoshop. If the plugins were placed in the correct folder, the program automatically detects new filters at startup and adds to the list of existing filters in the corresponding menu item.
Step 3
In order to run the required plug-in and apply it to an image, open any picture or photo on which you want to experiment and try the effect of the new filter, and then select the Filter tab in the main menu at the top of the main program window.
Step 4
You will see new lines among the existing filters - these will be either separate filters or a whole group that can be expanded into a subsection and select the desired filter from the group. Apply a filter to the image.
Step 5
If you then need to reuse the same plugin on a photo, press Ctrl + F to select the last used filter. If you open the filters menu, on the first menu bar you will see the last used filter, and by clicking on it you will reapply it.


