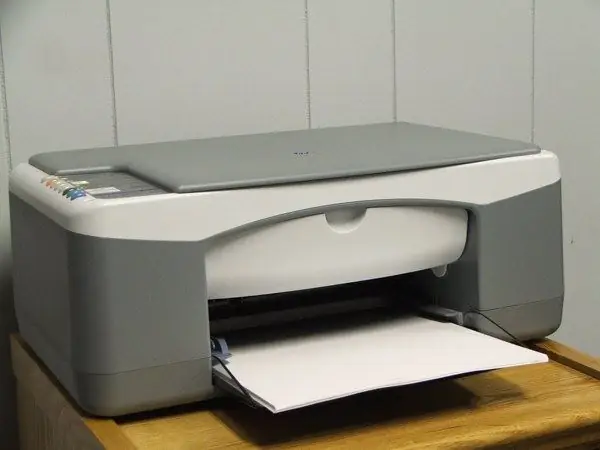
There are times when, when sending a certain number of documents for printing, one or more of them fall into the list by mistake. Fortunately, it is not at all necessary to waste paper on unnecessary texts or images, because an extra document can simply be removed from the print queue.

Instructions
Step 1
To remove a document from the print queue, use the Start menu to open the Printers and Faxes window. If you only have one printer installed, select it. If there are several - select the one to which you sent the document. Click on the desired icon with the left mouse button or right-click on it and select the "Open" command in the drop-down menu. A new dialog box will open with the name of your printer.
Step 2
In the window that opens, select the document that you want to remove from the print queue with the left mouse button. Select Document from the top menu bar. In the drop-down menu, select the "Cancel" command, wait until the selected document disappears from the list, close the window by clicking on the X icon in the upper right corner of the window.
Step 3
To remove all documents from printing, select the "Clear print queue" command from the "Printer" item and confirm the action. If you have a network printer installed, and you sent the document to print from another computer (and not from the one to which the printer is connected), you can remove the document from the print queue only from the computer to which the printer is connected.
Step 4
To temporarily pause printing, in the top menu bar of the window with the name of your printer, select "Document" and the command "Pause". The same can be done from the "Printers and Faxes" window: right-click on the icon of the required printer, select the "Pause" command in the drop-down menu. To then return the printer to working condition, select the "Resume Printing" command.
Step 5
To prevent the printer from printing documents temporarily, from the “Printers and Faxes” window, right-click on its icon and in the drop-down menu click on the “Delayed Print” line - the description of the printer status will change from “Ready” to “Not connected”. To restore the original state, select Use Printer Online from the drop-down menu.


