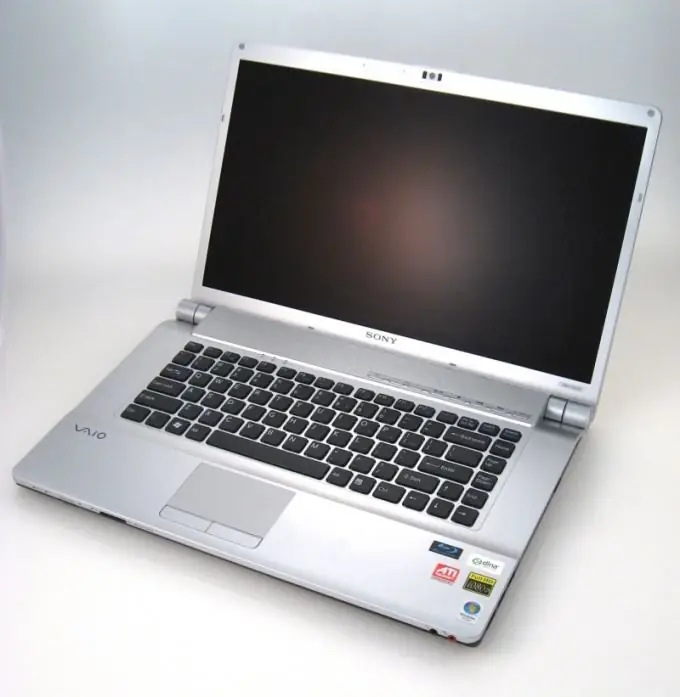
A certain proportion of mobile computer problems are related to display malfunctions. The absence of an image can be caused by malfunctions of the video card, damage to the laptop matrix or connecting cable.

Necessary
Set of screwdrivers
Instructions
Step 1
Before replacing the display matrix of a mobile computer, you must correctly select a new device. To do this, find out the model of the already installed matrix. Naturally, this can only be done after removing the equipment.
Step 2
Open the cover of the mobile computer after disconnecting the device from the AC power supply. It is better to remove the battery immediately to prevent short circuits.
Step 3
Carefully remove the rubber bands that are glued to the top panel case. They serve to prevent the cover from hitting the body. You will find the mounting screws underneath the stickers. Unscrew them. Use a metal spudger to detach the front cover of the laptop.
Step 4
Unscrew the guides that support the laptop matrix. If the rails are attached to the display and not to the computer case, simply remove the matrix. In this case, the guides do not need to be removed, because new equipment will be supplied with them.
Step 5
Now, disconnect one or two of the ribbon cables from the laptop motherboard to the display. Naturally, it is necessary to break the connection from the side of the matrix. Find out your mobile computer display model.
Step 6
Purchase a new device. To get started, simply connect the matrix to the stubs. Do not install the device in a case. Make sure the loops are connected correctly. Turn on the mobile computer by first plugging the power cable into the desired connector. If the matrix is working properly, it will display a standard computer boot image.
Step 7
Unplug your laptop from AC power. Install the die into the top panel housing. At the same time, make sure that all loops are in the correct grooves. Take extra care when installing the top of the panel. It is very important not to cross over any of the connecting cables.
Step 8
Fasten the top panel and replace the rubber bands. Turn on the laptop and check the matrix performance again.


