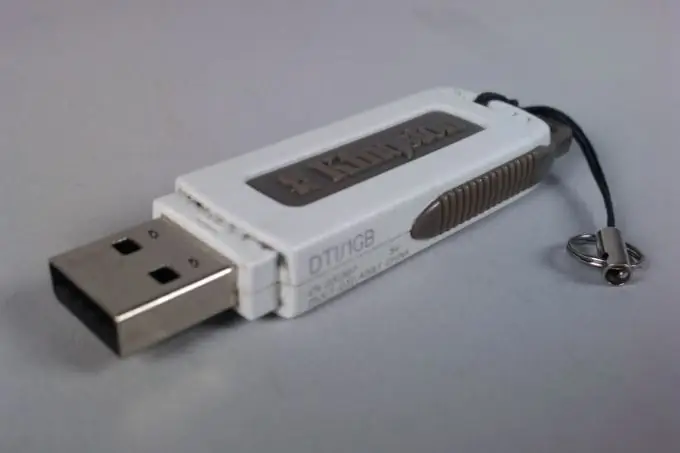
Sometimes the system preinstalled on a laptop, for one reason or another, does not suit the user. Windows Vista is very resource intensive and significantly slower than other operating systems. Therefore, it becomes necessary to remove it and install a less resource-intensive OS.

Necessary
- - removable hard drive or flash card to save data;
- - the image of the Partition magic program;
- - flash card for Partition Magic recording
Instructions
Step 1
Before deleting, save all your important data to an external hard drive or USB flash drive. during the installation process, all data will be permanently deleted.
Step 2
Next, you need to prepare a bootable USB flash drive with a program that will help format your hard drive. The most convenient utility for this is Partition Magic. Download the application boot floppy image and save it to disk. Download FlashBoot, which will create a boot sector on the USB stick and help you burn the image. Run it and follow the instructions of the installation wizard.
Step 3
From the "Choose disk creation type" menu, select "Create bootable flash disk as a copy of floppy disk". Specify the path to the image file, select the connected flash drive, specify the format "USB Flash". Click the "Finish" button, after which the image will be written to the boot sector of the media.
Step 4
Connect the USB flash drive to the computer, set the BIOS to boot from USB Flash (the Boot Menu section is responsible for this, although its name depends on the motherboard manufacturer and BIOS version). Save changes by pressing F10. Reboot your computer.
Step 5
Next, the Partition Magic window will appear. Right-click on a kind of sensor that shows some data on the hard drive. Next select "Format". In the window that opens, specify the "Partition Type" parameter "NTFS". Click OK.
Step 6
If an unallocated area exists on the disk, then it is necessary to create a corresponding partition. To do this, go to the "Create" menu by right-clicking on the selected area. In the "Create as" field, select "Primary Partition" (if you plan to use the selected area as the system disk). In the "Partition Type" item, specify NTFS. Click OK. The section has been created.
Step 7
Then you need to accept all the changes made using the Apply button at the bottom of the program window. After that, you can consider the system completely remote and you can proceed directly to the installation of the operating system.


