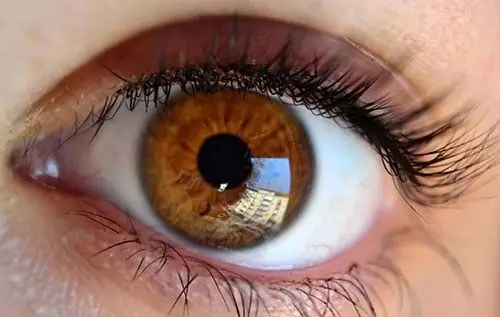
One of the most important details in any photographic composition involving people is the eyes. Therefore, they are often required to be processed when preparing a picture for printing. This can be done in Adobe Photoshop, a powerful professional graphics editor.

Necessary
- - Adobe Photoshop;
- - the original image.
Instructions
Step 1
Load a digital image containing the eyes to be processed into Adobe Photoshop. To do this, you can transfer the desired file from the folder window or file manager to Photoshop, or use the Open dialog by clicking on the corresponding File menu item or pressing Ctrl + O.
Step 2
If there is red-eye in the image, remove it. Activate the Red Eye tool. Set the Pupil Size and Darken Amount parameters in the top panel. Click on the pupil image. Check the result. If necessary, undo the action by pressing Ctrl + Z, adjust the Pupil Size and Darken Amount values and repeat the operation. Do this with all the red pupils.
Step 3
Lighten or darken the iris. Create a marquee around the desired portion of the image. Exclude the pupil area from it. In the menu, select the items Image, Adjustments and "Brightness / Contrast …". In the dialog that appears, enable the Preview option. Then select the appropriate values for the Brightness and Contrast parameters. Click OK.
Step 4
Change your eye color. Create a marquee around the iris. From the menu select items Image, Adjustments and "Hue / Saturation…". A dialogue will appear. Activate the Preview and Colorize options in it. Change the values for the Hue, Saturation and Lightness parameters, and then click the OK button.
Step 5
Treat the whites of your eyes. Create a selection around them. Apply Gaussian Blur filter with suitable blur radius. Activate the Dodge tool. Choose a brush and a processing mode. Lighten the whites of the eyes where needed.
Step 6
Save the processed image. Press Shift + Ctrl + S. The Save As dialog will appear. Specify in it the name and format of the output file, as well as the target directory. Click the Save button.


