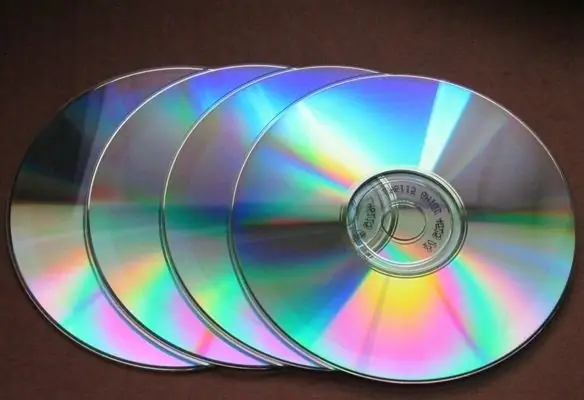
It is convenient to store a photo archive on a computer, but it is not safe - if a hard disk breaks down, you can lose all the information it contains. Therefore, it is better to copy valuable files, including photographs, to a DVD disc. Data on a CD can be stored for decades: once you burn it, you will forever forget about the threat of losing it.

Necessary
- - computer;
- - DVD recorder;
- - DVDs.
Instructions
Step 1
You can put your photos on both a write-once and a rewritable disc. The second option is more convenient because you can subsequently edit your photo archive by adding (if there is free space) or deleting photos. But in this case, the threat of accidental data loss during overwriting remains. A write-once disc does not allow you to change anything on it, but it has almost absolute reliability.
Step 2
Use Ashampoo Burning Studio to burn your photos to disc. This is a very convenient and truly versatile program that allows you to quickly and efficiently record any files. Unlike the widely used Nero program, it is very "light" - it installs quickly and works well.
Step 3
To burn photos, insert a blank DVD into your drive (you can rewrite it with unnecessary data), open the Ashampoo Burning Studio program. Select the Burn Files and Folders option, then Create New CD / DVD / Blu-ray Disc.
Step 4
In the window that appears, click the "Add" button. Select the files you want to burn, then click the Finish button. Click "Next", the program will check the inserted DVD. Click the "Record" button. In the event that the recording is made on a rewritable disc with information already available on it, the program will warn you about the loss of the data stored on it.
Step 5
At the end of the recording, the program will pop up the drive deck and inform about the successful completion of the recording. Using Ashampoo Burning Studio, you can update an already burned rewritable disc by adding or deleting files to it. To do this, select the appropriate option from the menu.
Step 6
You can also burn photos to DVD using Nero. For this, it is more convenient to use the old version of the program - for example, the sixth. The latest versions of Nero, especially the ninth and tenth, are very "heavy", they take on a lot of functions during installation, which is not always convenient.
Step 7
To burn with Nero, open the program, select "Create Data DVD". Click the "Add" button, select the required files. Click the Finished button. Insert the DVD and click the Burn button.


