Burning a disc that can be played on a DVD player is a problem for many users. This is due to the fact that often players, especially older models, do not know how to recognize and read some of the file formats in which the video is recorded. Files with the avi extension contain audio and video data, which, due to the use of codec combinations for compression, allow video to be played in sync with the sound. For recording an avi movie to DVD, there are many programs that allow you to do this with a greater or lesser degree of complexity.

Necessary
- Computer;
- Nero program;
- Windows DVD Maker program;
- ImgBurn program
Instructions
Step 1
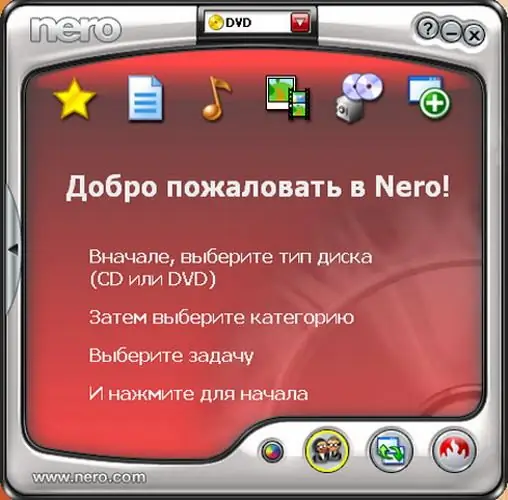
The most common burning software is Nero. Burning an avi file to DVD is pretty easy with Nero. Start the program by clicking on the shortcut and at the top of the dialog box select the type of recordable media - DVD. Scroll down to the bottom of the window and hover over Favorites and select Create Data DVD. In the next window, the program will estimate the amount of free space on your DVD disc.
Step 2
Go to the file browser on your computer, select the movie file that you want to prepare for recording and drag it with the mouse to the project preparation window. It remains to press the "Burn" button at the top of the window and start the burning process by pressing the "Burn" button in the next window. The program will show the recording process and its statistics in the window. Wait a few minutes and the disc is recorded.
Step 3
If your operating system is Vista, you can use Windows DVD Maker. The program available in the OS allows you to burn video files to discs. Select "Add Video" and select the file. If necessary, customize the DVD menu using the Menu Text button. In the "Menu Customization" set the font, select the video and sound clip to play in the background of the menu, and select the elements to design. You can view the result by clicking the View button.
Step 4
You can use one of the free programs such as ImgBurn. After installation, no program settings are required, since everything is already configured to obtain high quality recordings. Run the program. In the menu, select "Mode - Build". In the window that opens, click "File Lists" and find the file or files you are interested in. At the next stage, make up the order of playing files and, returning to the previous window, specify the folder for saving the prepared image and set the name.
Step 5
Now you need to check if all the selected files will fit on the DVD disc. If the prepared files correspond to the size of the disk, then it remains on the tabs of the window to indicate the saving parameters, the date, the name of the disk in Latin. Then click on "Start". The program will create two files - one image file and the other with *.msd extension. It remains to load the created image into the program, insert the DVD into the drive and start burning by clicking on the "Start" button.


