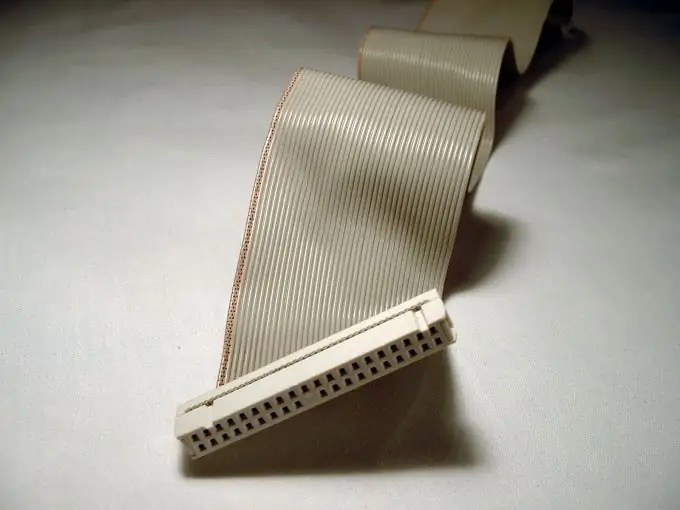
Sometimes it happens that the computer, for some unknown reason, stops correctly detecting the hard drive, or, upon a successful boot, it suddenly starts to "freeze", and then stops loading altogether. Do not rush to carry it to the service or look through the ads for the sale of hard drives and motherboards. It is quite possible that you just need to replace the cable.

Instructions
Step 1
Disconnect power from the system unit and remove the side cover.
Step 2
We carefully inspect the motherboard and all the wires and loops that are connected both to the motherboard and to all devices associated with it. Loops are most often connected to the motherboard:
• Floppy drives;
• Hard disks;
• Drives for CD, DVD and other formats.
In this case, a separate loop goes to the floppy drives. If you have a computer that was released more than 5 years ago, most likely the hard drives and disk drives are connected by an IDE cable. Outwardly, it is a wide 40 or 80-wire cable with three connectors. The first connector connects it to the motherboard, the other two are connected to information storage devices: hard drives or optical drives. Typically, a computer uses two IDE loops.
Step 3
To replace the flex cable, carefully disconnect its connectors from the corresponding sockets of the drives and hard drives to which it is connected. To facilitate access to them, it may make sense to disconnect the wires supplying power to these devices. Then, holding the motherboard and not bending it, disconnect the ribbon cable from the IDE socket. If necessary, we also disconnect the second IDE cable.
Step 4
We install the new cables in the reverse order: first, carefully, slightly pressing, we fix them on the motherboard, then we connect them to the corresponding sockets of hard drives and optical drives.


