All text typed using the Microsoft Word text editor can be saved in the most convenient format for you. Colorful presentations, brochures, books - just a small list of all the features of the Office from Microsoft. Making them in the program will not be difficult either.

Necessary
- - computer;
- - text;
- - illustrations;
- - installed Microsoft Word.
Instructions
Step 1
To create a book, you will need text. You can type it yourself or copy it from another source. In the second case, you can use the "Copy" and "Paste" commands from the "Edit" menu or the shortcut keys Ctrl + A ("Select All"), Ctrl + C ("Copy") and Ctrl + V ("Paste"). If necessary, add illustrations to the text, for which successively click the "Insert" item and the "Pictures" option.
Step 2
When the basis of your future brochure is ready, in the main menu, find the item "Page Layout". Select the desired view and go to the "File" section and the "Page Setup" subdirectory. In the window that opens, specify the size of the margins of your future book by entering the indent values of the top, left, right, bottom margins in the corresponding lines. Select the binding position and the way the sheet is arranged by checking one of the options in the "Orientation" section: portrait or landscape.
Step 3
Enter the number of pages per sheet. Here the program will offer several layout methods: regular, mirrored margins, two pages or a brochure. To create a book, it is most preferable to use the last two methods. If you select “brochure”, indicate the number of pages in it: from 4 to 40. If the volume of your book is larger, then several brochures will be printed. Then mark the scope of the changes made: to the entire document or to its end.
Step 4
In this window, but already in the "Paper size" section, set the size of the sheets to be used: A3, A4, A5 and others. If necessary, fill in the fields of the "Sources of paper" item. Also here you can add line numbering and start editing and styling the page. To do this, go to the special section of the "Format" or "Borders" menu of the "Paper Source" sub-item of the "Page Setup" function.
Step 5
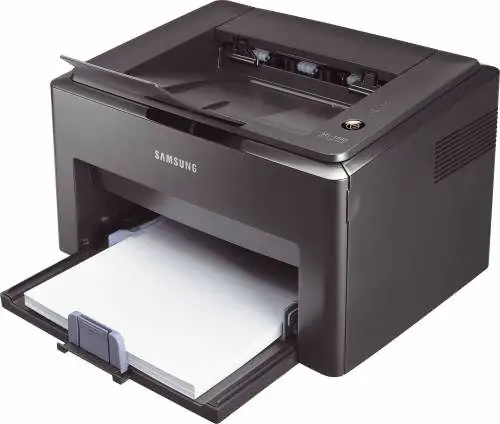
After your book is completely ready, print it out. To do this, select the "Print" item in the "File" section or use the keyboard shortcut Ctrl + P. Specify the printer on which you will print the document (if several printing devices are installed on your computer), select the "duplex printing" checkbox and click "OK". If you need to make changes to the parameters, click Cancel to cancel printing.


