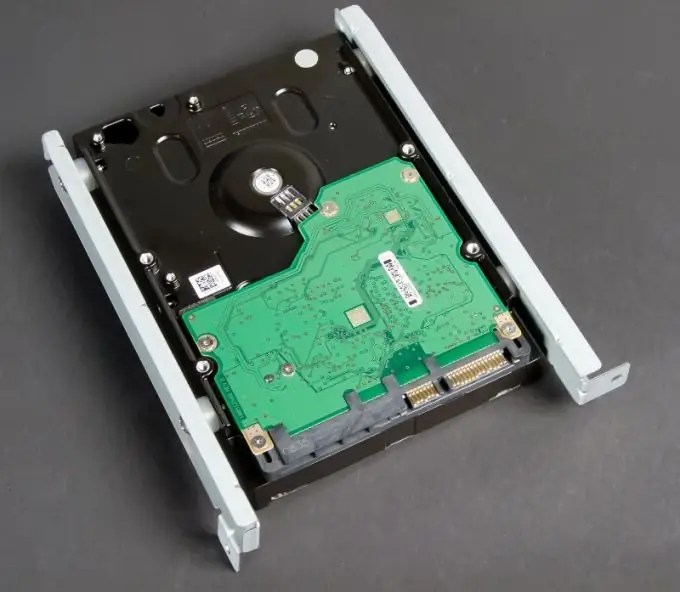
A hard disk is an element of a personal computer designed to store information. To install this device, certain rules must be followed. They will help you perform this procedure correctly without damaging the equipment.

Necessary
Crosshead screwdriver
Instructions
Step 1
Start by choosing a new hard drive. To do this, turn off the computer by unplugging the system unit from the AC power. Remove the left cover from the case and see which connectors are used to connect the hard drive. These are usually IDE or SATA cables. Some motherboard models use both of these channels. Most often, the hard drive is connected via SATA, and the DVD drive is connected via IDE.
Step 2
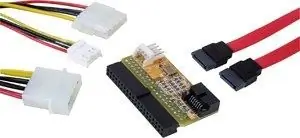
Purchase a new hard drive with the correct channel to connect to the motherboard. Note not the connector used to connect power to the drive. Make sure the new hard drive can be plugged into the computer's power supply. Connect the hard drive to the motherboard and power supply. Secure it in a special compartment. To do this, use special screws. Make sure the hard isn't wobbling. Purchase an additional adapter if you need to connect an IDE hard drive to a SATA slot.

Step 3
Connect the power to the system unit and turn on the computer. Hold the Delete key to open the BIOS menu. Go to Boot Options and set the boot priority from the old hard drive. Press the F10 key and confirm to save the parameters.
Step 4
Wait for the operating system to start and wait for the automatic detection of the new hard disk and installation of the drivers necessary for its operation. Open the My Computer menu. Right-click on the new hard drive icon. Select "Format". In the menu that opens, select the file system (NTFS) and uncheck the "Quick (clear the table of contents)" item. Click the "Start" button, confirm the start of the disk cleaning process and wait for it to complete. Now your new hard drive is completely ready to use.


