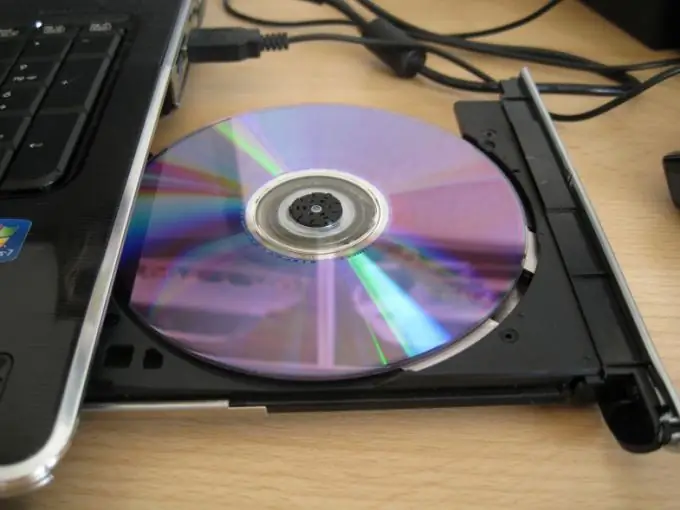
The simplest operation that may be required when working with a computer or laptop is to insert the disc into the drive. Drives that can only read CDs or DVDs have already gone down in history. They were replaced by universal drives that can read information from absolutely any disc: standard CD, DVD, double-sided and mini-CD.

Necessary
disc, drive or external DVD drive with USB cable
Instructions
Step 1
The simplest operation that may be required when working with a computer or laptop is to insert the disc into the drive. Drives that can only read CDs or DVDs have already gone down in history. They were replaced by universal drives that can read information from absolutely any disc: standard CD, DVD, double-sided and mini-CD. To insert a disc into the drive, you will need: a disc, a drive or an external DVD drive with a USB cable.
There is only one algorithm for placing a disc in the drive, but depending on the type of disc or the type of drive, there are some nuances that are described below. So, the instructions for inserting the disc into the drive of the system unit are as follows:
Press the Eject or Open button on the drive. In the opened tray, insert the disc with the recorded side down, placing it with the hole on the spindle motor until it clicks. Press the Eject or Open button again, or move the tray by hand until it clicks to close the drive.
Step 2
Nuances depending on the types of drives. The system unit is equipped with an optical drive, it is necessary to load a disc into it strictly according to the instructions. Open the laptop drive by pressing the Open button, close it by hand until it clicks. An external DVD drive is required to read information from a disc using a Netbook that does not have a built-in drive. The connection is made using a USB cable. Loading a disc into an external drive is done in the same way as into a system unit drive. There are drives without a pull-out tray. In this case, slide the disc slightly into the horizontal hole with the information side down. After work, remove the disc from such a drive using the Open button.
Step 3
Nuances depending on the types of discs. If both sides of the disc are shiny, then it is either a double-sided disc or a one-sided disc. Determine which side of the disc has the recorded information. To do this, look carefully at the disc, preferably at an angle and near a bright light source. The border of the recording will be clearly visible on the informative side and absent on the decorative side. Insert the Mini-CD into the drive directly on the spindle motor. Some trays are equipped with a special recess for an 80 mm disc.


