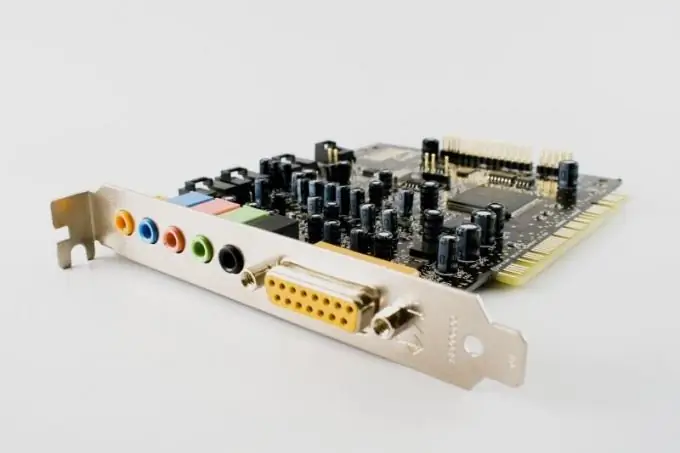
A sound card that fits into a PCI slot may have better performance than a sound card built into the motherboard. After installing such a card, you must disable the built-in one. This is done using the CMOS Setup utility.

Instructions
Step 1
Install the sound card into the PCI slot. To do this, shut down the operating system correctly, wait for the computer to power off automatically, then physically disconnect it, as well as all peripheral devices. An old AT computer will have to be shut down manually. Open the case of the system unit, break off the cover opposite the free PCI slot, insert a sound card into it and secure it. Close the system unit, move all the plugs from the built-in sound card to the new one (pulling the plug out of the built-in card slot, move it to the slot of the new one that has the same color), and then supply power to the computer and all peripheral devices.
Step 2
Turn on the computer, and then immediately start pressing the Del or F2 key (depending on the BIOS version). If a password has been set for CMOS Setup, enter it. Find the Integrated peripherals menu item. In the list that appears, find the item Sound card or similar. Using the PgUp and PgDn keys (sometimes others are used - see the hint at the top or bottom line) set next to this item the value Disabled or No (depending on the BIOS version).
Step 3
Press the F10 key, then Y or Enter. The operating system will start loading. When it boots up, make sure that the built-in sound card is no longer detected, and the newly added one is detected. In Windows, you may need to install a driver on the card, downloaded from the manufacturer's website or taken from the included disk. In Linux, the card that is included in the list of supported by the kernel will work immediately. But you may need to start the mixer and then manually move the Master volume control from zero. If your computer has two operating systems installed, you will have to load both in turn, and then configure each of them separately.


