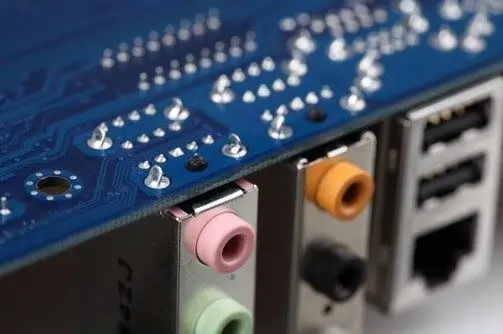
The need to disable the integrated sound card arises when an additional audio device is installed in the system unit of the computer. To complete this procedure, you do not need any special skills, it is enough to have administrator rights.

Instructions
Step 1
After installing the new sound card, turn on the computer and log in with an account with administrator rights. You will not be able to disconnect the integrated card from the limited user profile.
Step 2
Click on the "My Computer" icon with the right mouse button, in the context menu that opens, select the "Properties" command. In the new dialog box, go to the "Device Manager" section.
Step 3
If the My Computer icon is not on the desktop, open the Start menu, go to the Control Panel applet, and open the Device Manager section.
Step 4
Expand Sound, Video and Game Controllers and right-click the icon for the appropriate sound card you want to disable.
Step 5
In the context menu that appears at the same time, select the command "Disable" or "Delete". In the latter case, the driver uninstallation procedure will be performed. This action is reversible, if you need to turn on the device again, it will be enough to install the current driver version.
Step 6
If the system responds with an error to any of the above actions, select Properties from the same menu, and then click the Disable button on the Driver tab of the audio device's system dialog box. Another option is to completely remove the driver for the board by clicking the corresponding button.
Step 7
After completing the deactivation or removal of the integrated board driver, check for the presence of similar system files for the newly installed device. To do this, you can use the Update command from the Driver tab of the new sound card dialog box.


