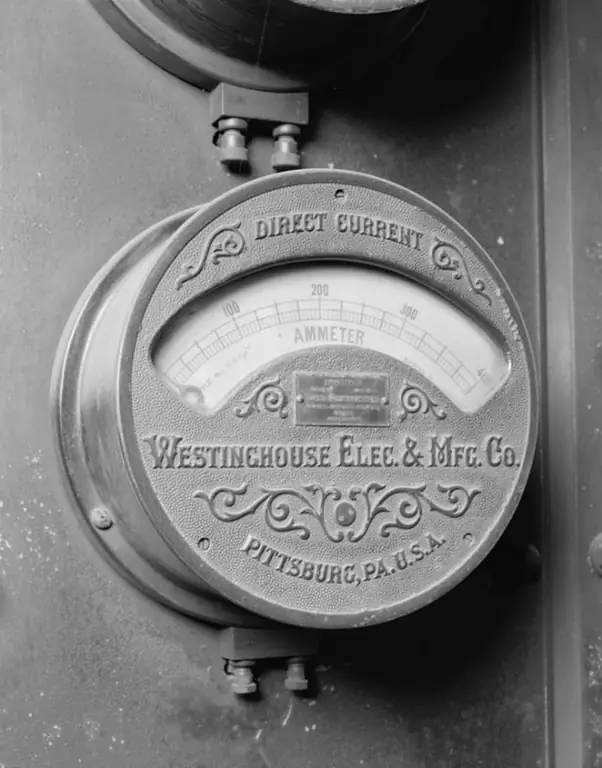
One of the types of computer modding is the installation of arrow indicators on it. These devices allow you to visually display in an analog form the level of load on the hard disk of the machine.

Instructions
Step 1
Shut down the operating system, and then power off the computer completely.
Step 2
Make sure that the total deflection current of the dial gauge does not exceed five milliamperes and that the dial gauge itself is using a magnetoelectric moving system. It is best to use microammeters with a full deflection current of 0.1 mA (100 μA).
Step 3
Find the wire that goes to the LED connected to the motherboard with the connector labeled "HDD LED". Disconnect this connector from the board after sketching how it was connected.
Step 4
Take the left side wall of the car body. Mark on it the location of the dial indicator so that its mechanism, as well as the contact screws, do not touch any components of the machine when the cover is replaced.
Step 5
Draw the outline of the indicator hole on the cover, and then carefully cut the hole along this outline.
Step 6
Take a one megohm trimmer. Switch it on in series with the device. Set the maximum resistance on it. Connect the circuit of the device and resistor, observing the polarity, parallel to the "HDD LED". Insulate the connections. Remember that each of the meter terminal screws is equipped with two nuts. Those of them that are adjacent to the body must not be turned away under any circumstances. The device can be damaged, and irreversibly. If there is only one nut on the screw, then the second is lost and needs to be added.
Step 7
Connect the LED connector back to the motherboard.
Step 8
Turn on your computer. In any way, make it often access the hard disk so that the corresponding LED is lit almost constantly.
Step 9
Slowly rotate the trimmer until the arrow is deflected by the last division of the scale.
Step 10
Turn off your computer. Wrap electrical tape around the trimmer on all sides.
Step 11
Close the system unit. Make sure that the arrow deflects more as the load on the hard disk increases.


