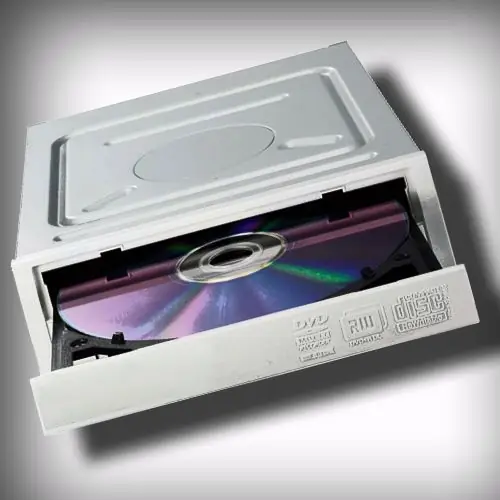
Is your computer's DVD drive broken? Or are you just eyeing a better model? In any case, you can replace this unit yourself - there is nothing complicated about it. Of course, if you are not mistaken with the choice of the model.

Necessary
screwdriver
Instructions
Step 1
Check the interface for connecting disk drives in your computer before purchasing a new DVD drive. Older models use a parallel interface - UltraATA, newer ones use a serial interface - Serial ATA (SATA). If you buy a drive with the wrong interface, you will have to use adapters to connect. In case of difficulty, contact a specialist.
Step 2
Make sure that the DVD drive installed on your computer is empty, if not, remove the disc from the tray. Close all running programs and turn off the PC using the operating system.
Step 3
Unscrew the fastening screws that hold the system unit covers. Don’t lose the screws - they will still come in handy! Remove the covers.
Step 4
Disconnect the power plug and data cable from the DVD drive. You may have to put in some effort to do this. Proceed with caution - do not damage the ribbon cable and power wires or injure yourself.
Step 5
Unscrew the fastening screws that secure the DVD drive inside the compartment of the system unit. Push the DVD drive from the back with one hand until it protrudes from the case, grab it with your other hand and pull it out completely.
Step 6
Please note that if your computer uses an UltraATA connection interface, before inserting the DVD drive, you will need to move the jumper (jumper) located on the back of the drive to the SLAVE position. This can be done with tweezers, an awl, or a thick needle. Which pins correspond to the SLAVE position must be indicated on the actuator housing
Step 7
Insert the new DVD drive in place of the old one. Fix it in the system unit compartment with fastening screws on both sides.
Step 8
Connect the data cable and power plug to the new DVD drive. Make sure both plugs enter all the way. Replace the system unit covers and secure them with screws.
Step 9
Turn on your computer and make sure it recognizes the new DVD drive. If the computer “does not see” the drive, check the ribbon cable and the power plug - they may not be fully inserted into the connectors.
Step 10
Check if the tray opens. If the tray opens and the disc spins, but the computer does not recognize it, check if the drive appears in Device Manager. If you find it difficult to do it yourself, contact a specialist.


