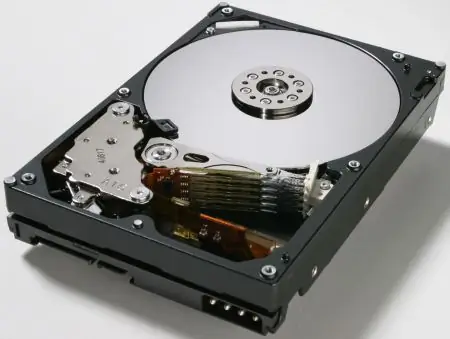
With the purchase of a new hard disk (hard drive), novice users face the problem of installing it inside the computer. Of course, you can contact specialized service services, but this simple operation can be performed on your own, saving time and money.

Instructions
Step 1
Turn off your computer and disconnect the electrical cable from the power supply.
Step 2
Remove the side panels of the computer case (they are often combined with the top). To do this, as a rule, you need to unscrew two screws at the place of their attachment (usually on the back of the case).
Step 3
Hard drives fit into 3.5 "device bays, which are narrower than the 5" bays used for optical drives. However, when installing additional cooling, sometimes the hard drive can be installed in a 5-inch bay.
Step 4
Choose where to install the disk. It is preferable that this place is well cooled by internal coolers.
Step 5
Insert the hard drive into the bay of your choice and secure it with screws on both sides (or latches, depending on the type of case).
Step 6
Connect the power and data cables to the hard drive. They differ depending on the type of hard drive (IDE, SATA, SCSI) and are not compatible with each other.
Step 7
Replace the computer case, secure it, and plug in the power cord.
Step 8
Turn on your computer and make sure your motherboard BIOS displays the new hard drive.


