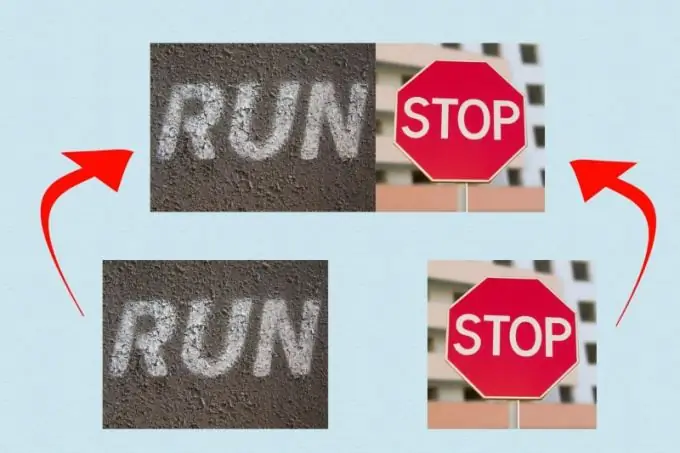
The main skill in creating collages is the ability to connect two or more photos. For example, horizontally. This can be done using Adobe Photoshop.

Necessary
Adobe Photoshop
Instructions
Step 1
Open Adobe Photoshop, and in it - the photo files that you need to glue. To do this, click the menu item "File"> "Open" or press the hot keys Ctrl + O. In the new window, specify the path to the files and click the "Open" button. If the photos are in different directories, then these steps will need to be repeated.
Step 2
Determine the size of your photos in pixels. Activate each of the pictures in turn and press the Alt + Ctrl + I hotkeys. The dimensions of the photo are indicated in the "Dimension" section in the "Width" and "Height" fields. If the sizes of the photos do not match with each other, they need to be made equal. To do this, select the larger photo and press Alt + Ctrl + I again.
Step 3
Make sure to check the box next to Constrain proportions and make the Height parameter the same as in the smaller photo. The "Width" parameter will also change, remember this value, or better write it down. Click OK.
Step 4
Create a new document: press Ctrl + N or File> New. Add up the width indicators of both photos (the width is larger - taking into account the change in the third step of the instructions) and indicate the resulting number when creating this document in the "Width" item. In the "Height" item, specify the height of the smaller photo. Click on the "Create" button.
Step 5
Select the Move tool (hotkey V) and alternately drag both photos onto the newly created document. Use the same tool to place the images as needed. To select one or another layer (and photos after moving to a new document turned into layers), use the "Layers" window. Press the F7 key to call it.
Step 6
To save the result, click File> Save as or press Ctrl + Shift + S. In the new window, specify the path for the newly created file, in the "Format" field, select the Jpeg image format and click the "Save" button.


