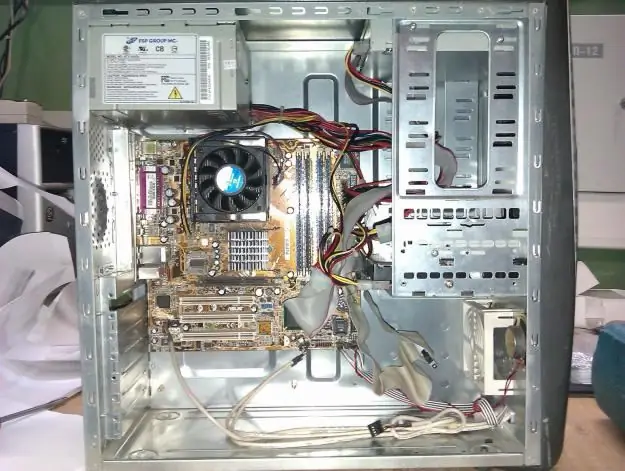
If your computer needs to replace the hard drive, you do not need to take it to a specialized service - you can do all the necessary steps yourself. Of course, when changing a hard drive, one should not forget about security.

Necessary
Computer, hard drive, screwdriver
Instructions
Step 1
Given the fact that the computer is powered by electricity, you must protect yourself in advance from possible electric shock. To do this, you need to completely shut down your computer. Open the start menu, then select the "Shutdown" command in it. In the list of additional commands, you also need to click on the "Shutdown" button. Once the computer is stopped, switch the power supply toggle switch to the "OFF" position. This toggle switch is located on the back of the PC case. Next, you need to disconnect the power cord from the outlet, after which, disconnect all wires from the system unit. The computer is now completely safe and ready to replace the hard drive.
Step 2
To replace the hard drive, you must remove both side panels from the system unit. To remove the walls, unscrew the screws on the back panel that fix them, then pull out each side panel one by one. Thus, you can reach not only the hard drive, but also all the fasteners that secure the device.
Step 3
Disconnect the ribbon cable from the hard drive, then unscrew the device and remove it by sliding it into the inside of the case. The new hard drive is also inserted from the inside. After you install the hard drive in the correct location, catch the screw holes so that they line up with the holes on the metal panel. Tighten the screws to secure the hard drive. After that, you need to firmly press the ribbon cable and the power cable to the corresponding connectors.
Step 4
Assemble the case of the system unit. Connect your computer to an electrical outlet, and then turn it on. Thus, you can independently rearrange the hard drive, while saving on contacting a specialized repair service.


