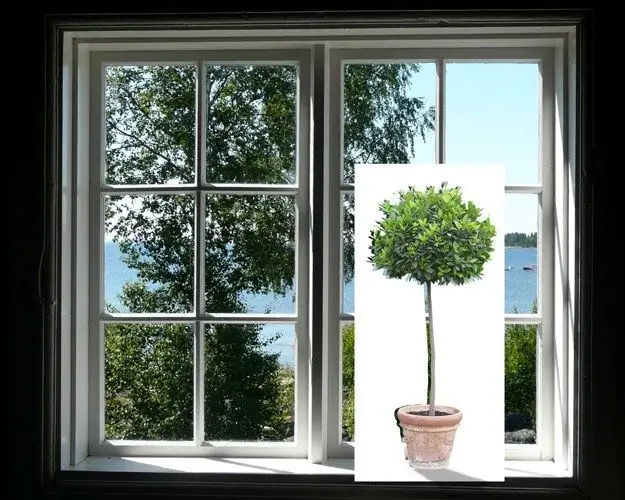
Inserting an object is one of the common actions performed in Photoshop. A fragment of an image can be added to a picture by copying it from another document opened in this graphics editor, or using the Place option and inserting an object from a file.

Necessary
- - Photoshop program;
- - background image;
- - a file with an object for insertion.
Instructions
Step 1
Open the background image in the graphics editor using the Open option of the File menu. Using the Place option of the same menu, place the object in the document. Resize it if necessary by moving the box that surrounds it. To move the object itself along the background, select the Move Tool. If you need to move the inserted image by a certain number of pixels, use the arrow keys.
Step 2
An image inserted into the document using the Place option is a smart object associated with the original file. If the image that you have overlaid on the background layer needs additional processing, such as background removal or color correction, use the Smart Object option from the Rasterize group of the Layer menu.
Step 3
To remove a solid background from the inserted object, use the Color Range option of the Select menu. Click on the color you want to remove and check the Invert checkbox. To hide the selected areas, add a mask to the layer using the Add layer mask button located in the layers palette.
Step 4
If the background consists of a lot of different shades, turn on the Pen tool in Path mode and stroke the object around the edge. Having closed the path, call the context menu with the right mouse button and select the Make Selection option. If you want to feather the edges of the inserted picture, specify the amount of feathering in the Feather Radius field. Hide the background by creating a layer mask.
Step 5
An object inserted into an image may need editing in order to bring its color gamut closer to the background. Create an adjustment layer for this with the Color Balance option in the New Adjustment Layer group from the Layer menu.
Step 6
To restrict the filter's area of effect to the pasted object, go to the layer where it is and use the Load Selection option of the Select menu. To exclude the background from the area of the adjustment layer, you will need to invert the loaded selection. This is done by the Inverse option of the same menu. Click on the mask on the filter layer and use the Paint Bucket tool to fill the selected area with black color.
Step 7
Open the filter settings with the Layer Content Options option of the Layer menu and adjust the color of the inserted object to the color scheme of the background image.
Step 8
In a Photoshop document, you can insert an object located on one of the layers of a file opened in another window of the graphics editor. To do this, select the contents of the desired layer with the All option of the Select menu and copy the picture with the Copy option of the Edit menu. Click on the window in which the background image is open and paste the object using the Paste option of the same menu.
Step 9
If you want to save a layered file with an inserted object, use the Save As option of the File menu and select the psd format. For a single layer file, save the image in.jpg"


