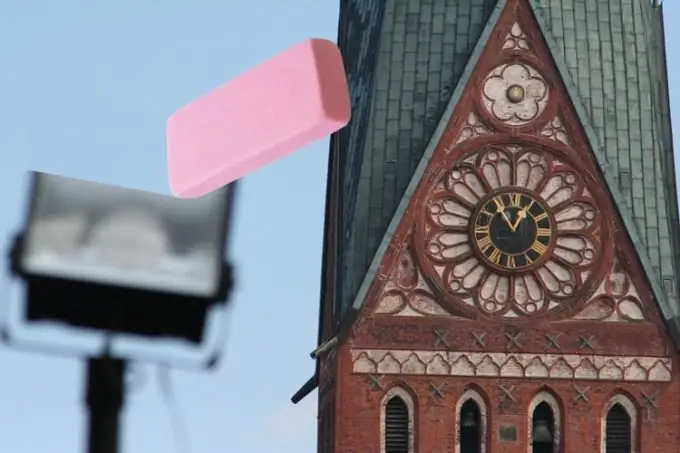
A subject that accidentally falls into the frame can ruin the impression of a good shot. However, there are a number of ways to remove such items from a photo using Photoshop.

It is necessary
- - Photoshop program;
- - image.
Instructions
Step 1
One of the most obvious ways to remove unwanted objects from an image is to crop the image. If you don't care about keeping the original image size and the subject you want to remove is close to the edge of the photo, load the image into Photoshop and enable the Crop tool.
Step 2
Stretch the borders of the tool frame so that the deleted object is completely in the shaded area. If you are unable to crop the entire portion of the image with the unwanted subject without damaging the photo, delete the portion of the subject. This will reduce the time it takes to process the image with other tools of the graphic editor.
Step 3
An object located on a solid-colored background without small details can be covered with a copied fragment of the picture. To do this, turn on the Lasso tool and outline an area of the photo suitable for completely or partially covering an unnecessary subject. Having closed the selection line, use the Ctrl + J combination to copy the area to a new layer and move the resulting patch with the Move Tool so that it covers the deleted object.
Step 4
Erase the edges of the copied background with the Eraser tool with a reduced Hardness value. In this way, you will feather the edges of the overlay layer and get a smooth transition between it and the underlying image.
Step 5
If there is not enough free background to mask an unwanted subject in the picture, you can copy the same fragment several times. Having reduced the scale of viewing the edited picture, evaluate the accuracy of the work done.
Step 6
For removing small objects from a solid background, the Patch tool is a good choice. To work with it, copy the original photo to a new layer, turn on the Source option in the panel under the main menu and outline a fragment of the background that exceeds the size of the deleted object. Switch to the Destination option and move the selected patch over the object. The edges of the part of the picture with which you covered the object removed from the picture will change their brightness in accordance with the brightness of the image pixels lying under them.
Step 7
If you cannot completely remove the subject from the photo, use the Clone Stamp tool. In order to place the adjustment on a separate layer, create this layer with a combination of Ctrl + Shift + N and enable the Sample all layers option in the tool settings.
Step 8
Specify the location on the picture that will serve as the source for copying. To do this, click on a suitable area of the photo while holding Alt. Move the cursor to the object to be deleted and start painting it by releasing Alt. If the subject casts a shadow, remove it from the picture as well.
Step 9
Use the Save As option of the File menu to save the photo cleared of unnecessary items.


