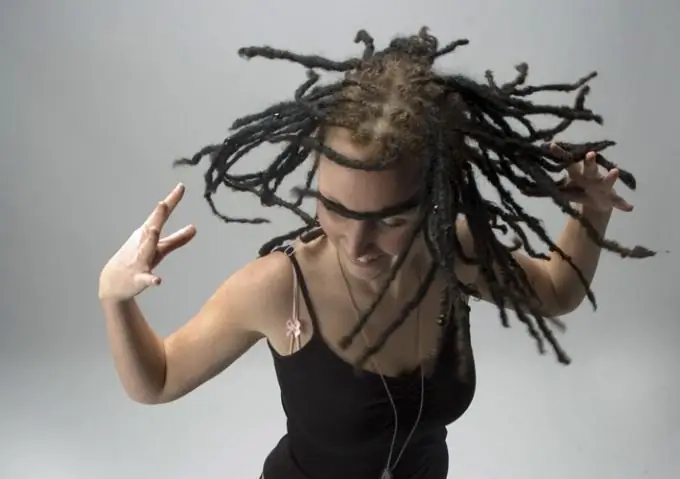
There are several ways to separate objects with complex contours from the background, such as photographs of models with lush hairstyles. One of the ways to solve this problem is to use the Extract filter of the Photoshop graphics editor.

Necessary
- - Photoshop program;
- - image.
Instructions
Step 1
Load the snapshot into Photoshop using the Open option on the File menu, or by choosing an image from the list that opens with the Open Recent option if you've recently worked with this file. Using the Layer via Copy option of the New group of the Layer menu, add a copy of the background layer to the document, with which you will work. After applying the filter, the background on the active layer will be completely removed, but by keeping the layer with the original image in the document, you can correct the Extract result.
Step 2
Open the filter window with the Extract option of the Filter menu. Turn on the Zoom tool and zoom in by clicking on the area of the photo you will be working with. Use the Edge Highlighter tool to select the border of the image you want to separate from the background.
Step 3
Adjust the brush size of the tool on the right side of the filter window so that the line that Edge Highlighter leaves on the image partially covers the background. Thin objects, like a few stray hairs, should be completely covered with the line left by the selection tool.
Step 4
By default Edge Highlighter draws a green line. If the subject was photographed against a background of a similar color, select a different shade for the instrument. This can be done in the Tool Options panel, which is located on the right side of the filter window.
Step 5
You can apply the Smart Highlighting option by checking the corresponding checkbox. The line left by the tool will stick to the border between areas of different colors, but since there are no additional settings for the Smart Highlighting option, the result of its application may not be entirely correct.
Step 6
Turn on the Fill Tool and click on the selected area. See the result of the work by clicking on the Preview button. If you find that part of the background in the image is preserved, return to editing by selecting the Original item in the Show list of the Preview panel. To see the selection line and mask, check the Show Highlight and Show Fill checkboxes.
Step 7
Turn on the Erazer Tool and erase the extra selection lines. If you use an oversized Edge Highlighter brush, part of the foreground object may disappear along with the background. To change this, decrease the size of the brush.
Step 8
Use the OK button to apply the filter.


